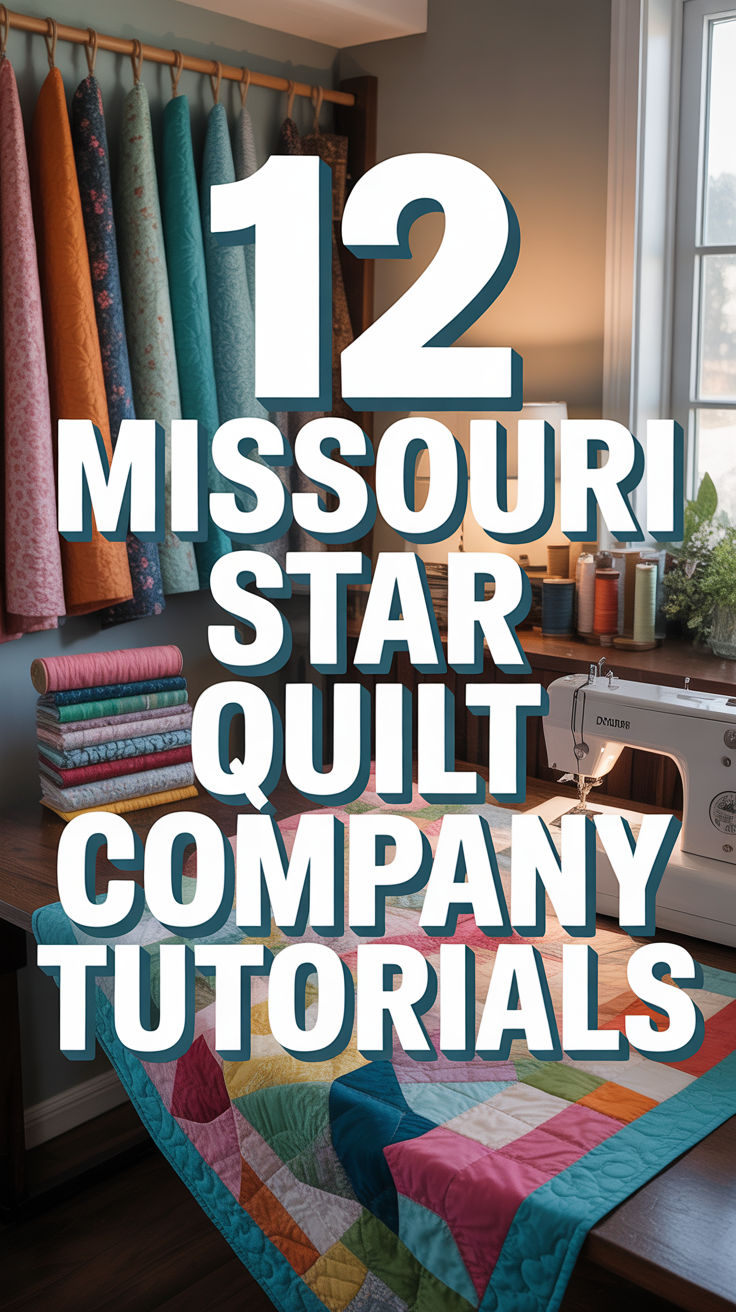
🧵 12 Missouri Star Quilt Company Tutorials
Hey there, fabric fanatics! Ready to dive into the wonderful world of quilting without feeling like you need a Ph.D. in geometry? Good, because the Missouri Star Quilt Company, with Jenny Doan as our fearless leader, basically invented the concept of “easy peasy quilt squeezy.” Forget those intimidating patterns; these tutorials are like having your most patient, hilarious friend walk you through every stitch.
We’re talking about taking those gorgeous fabric bundles you’ve been hoarding (don’t lie, we all do it) and turning them into actual, usable, snuggle-worthy quilts. Get ready to laugh, learn, and maybe even accidentally buy more fabric. It’s a lifestyle, really.

1. Jelly Roll Race
Ever feel like you need a quilt done yesterday? The Jelly Roll Race is your new best friend. Seriously, it’s so fast, you’ll wonder if you accidentally time-traveled.
This tutorial takes a jelly roll (those awesome 2.5-inch fabric strips) and turns it into a quilt top in a blink. You’re basically sewing strips end-to-end, then cutting and sewing again. It’s a total beginner win and a stash-buster hero.
Pro tip: Use a walking foot for smoother seams, especially when joining those long strips. Your machine will thank you, and your seams will lie flatter than a pancake.
It works because it simplifies the process, letting you focus on the joy of creating without getting bogged down in complex piecing. Instant gratification, folks!
2. Disappearing Nine Patch
Prepare to feel like a quilting magician. You start with a simple nine-patch block, then cut it up and rearrange the pieces. Poof! A complex-looking design appears from nowhere.
This tutorial is perfect for using up charm packs or even your fabric scraps. It teaches you to see beyond the initial block and embrace the magic of a little strategic cutting. Suddenly, you’re an optical illusionist.
Pro tip: Press seams open to reduce bulk, especially when you’re rearranging those smaller squares. Your quilt will thank you for the smooth finish.
It works because it’s a clever way to get a lot of visual interest with minimal effort. Plus, it’s super satisfying to watch the design emerge.
3. Half-Square Triangle Quilt
Ah, the humble Half-Square Triangle, or HST. It’s the building block for practically a gazillion quilt patterns. This tutorial shows you how to make them efficiently, without pulling out your hair.
You’ll learn various methods, from making two at a time to eight at a time, often starting with just two squares of fabric. It’s all about creating those perfect diagonal seams that make your quilt sing.
Pro tip: Trim your HSTs to size after sewing, using a specialty ruler if you have one. Precision here means happier blocks down the line.
It works because HSTs are versatile AF. Mastering them unlocks a whole new world of design possibilities, making you feel unstoppable.
4. Layer Cake Squares Quilt
Got a stack of 10-inch squares just sitting there, looking pretty? This tutorial is your permission slip to cut into that beautiful layer cake. You’re welcome.
Jenny often shows how to get amazing results with minimal cuts, sometimes just slicing a square into four smaller ones and rearranging. It’s all about making those pre-cuts work harder for you.
Pro tip: Chain piece your squares to speed things up. Just keep feeding them through your machine without breaking the thread between units.
It works because it respects your pre-cut investment and turns those perfectly coordinated fabrics into a cohesive quilt top without a ton of brainpower.
5. Binding Basics for Beginners
You’ve pieced your top, quilted it, and now you’re at the finish line: binding. Don’t let this last step intimidate you. MSQC makes it approachable, even for the most binding-phobic quilter.
This tutorial covers everything from calculating how much fabric you need to creating mitered corners and perfectly joining your binding ends. It’s the cherry on top of your quilting sundae.
Pro tip: Attach your binding to the front of the quilt, then fold it over and hand stitch it to the back for a really clean, polished look. It’s worth the extra effort.
It works because a well-bound quilt looks professional and lasts longer. It’s the final frame for your masterpiece, giving it that finished glow.
6. Rag Quilt How-To
If you love cozy, textured quilts that practically beg to be snuggled, the rag quilt tutorial is for you. It’s wonderfully forgiving and requires zero fancy quilting skills.
You’ll learn to layer fabric squares with batting, sew them together with exposed seams, and then, the best part, snip those seams to create a soft, fluffy fringe. It’s surprisingly therapeutic, like giving your quilt a haircut.
Pro tip: Use a sharp pair of spring-loaded scissors for clipping those seams. Your hands will thank you immensely after a few hundred snips.
It works because it produces a unique, super soft quilt that’s perfect for chilly evenings. Plus, it’s a fantastic way to use up flannel or minky fabrics.
7. T-Shirt Quilt Construction
Got a pile of sentimental T-shirts that you can’t bear to part with but also can’t wear anymore? Turn them into a memory quilt! This tutorial helps you tackle those stretchy beasts.
You’ll learn about stabilizing T-shirt fabric with interfacing, cutting consistent blocks, and arranging them into a cohesive design. It’s basically wearable history, but for your couch.
Pro tip: Use a walking foot and a fresh needle when sewing through the interfaced T-shirt fabric. It helps prevent stretching and puckering.
It works because it preserves cherished memories in a functional way, transforming old tees into a comforting, personalized keepsake.
8. Stripology Squared Quilt
If you’re looking for a way to make cutting faster and more accurate, the Stripology ruler tutorials are a game-changer. Jenny often demonstrates how to use these rulers to get perfect strips and squares with fewer cuts.
This technique is fantastic for creating repetitive blocks or simply squaring up fabric efficiently. It’s like having a super-powered ruler that does half the work for you, letting you fly through your cutting.
Pro tip: Always use a fresh rotary blade when working with any ruler, especially for precision cuts. A dull blade can lead to frustration and wonky pieces.
It works because it streamlines the cutting process, saving you time and ensuring your pieces are perfectly sized, which means happier sewing.
9. Block of the Month Adventures
Missouri Star Quilt Company is famous for its Block of the Month (BOM) programs, and their tutorials are your guide. These are often designed to teach a new technique each month, building up to a beautiful finished quilt.
You’ll learn various piecing methods, block constructions, and sometimes even a touch of applique. It’s like a monthly quilting club, but you get to do it in your pajamas.
Pro tip: Keep a dedicated project box for each BOM to store your fabric, pattern, and completed blocks. Staying organized makes the whole process smoother.
It works because it breaks down a potentially complex quilt into manageable, bite-sized pieces, making big projects feel totally achievable.
10. Sashing and Borders Wisdom
Your quilt blocks are amazing, but sometimes they need a little breathing room or a frame to really shine. This tutorial covers the art of adding sashing between blocks and borders around the edge.
You’ll learn how to measure, cut, and attach sashing to make your blocks pop, and how to add straight or mitered borders that perfectly frame your quilt top. It’s like giving your quilt a custom mat and frame.
Pro tip: Measure your quilt top in several places (center, sides) to get an average length for your borders. Don’t just measure one side; quilts can get wonky.
It works because sashing and borders can transform a collection of blocks into a cohesive, polished quilt, adding structure and visual appeal.
11. Applique Made Easy
Think applique is only for the super advanced? Think again! MSQC’s tutorials often demystify applique, showing how to add charming shapes and designs to your quilts without the fuss.
Whether it’s simple machine applique using fusible web or a quick raw-edge technique, you’ll learn how to incorporate delightful elements that add personality and whimsy to your projects. It’s like drawing with fabric.
Pro tip: Use a small, sharp pair of scissors for intricate applique cutting. Precision here makes a big difference in the final look.
It works because applique adds a unique, often whimsical dimension to your quilts, allowing for more intricate designs and storytelling without complex piecing.
12. Quilting As You Go Method
Bigger quilts can be a beast to wrestle through your home sewing machine. The “Quilting As You Go” method is a brilliant workaround, allowing you to quilt your project in smaller, manageable sections.
This tutorial shows you how to piece and quilt individual blocks or strips, then join them together to form the larger quilt. It’s like building a big quilt from a series of mini-quilts, making the whole process less daunting.
Pro tip: Plan your quilting motifs for each section before you start. This ensures a cohesive look even though you’re working in chunks.
It works because it makes large-scale quilting accessible to everyone, no long-arm required. Your back and shoulders will thank you.
Conclusion
So there you have it, your cheat sheet to conquering the quilting world, courtesy of Missouri Star Quilt Company. Jenny and the gang make it look easy because, well, they actually make it easy. These tutorials aren’t just about making quilts; they’re about building confidence, busting stashes, and having a blast while you do it.
No more staring blankly at fabric, wondering where to even begin. Pick a tutorial, grab your supplies, and get stitching. Your next favorite quilt is just a few clever steps away. Go forth and quilt, you magnificent fabric whisperers!