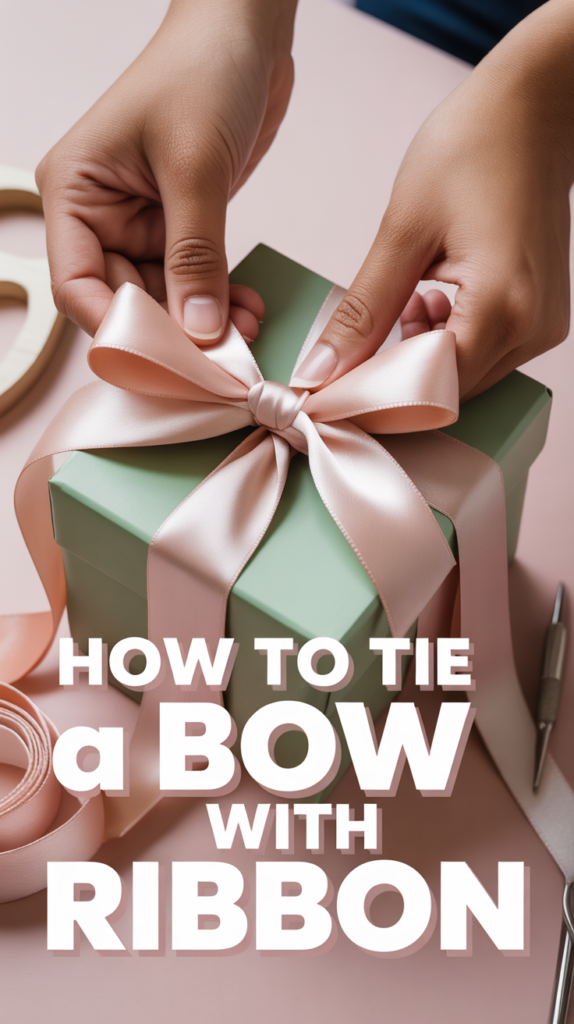
🎀 How To Tie A Bow With Ribbon
Ready to level up from “knot with vibes” to actual ribbon royalty? Good. I’ll walk you through the bows that make gifts, wreaths, and ponytails look expensive. It’s easy, it’s quick, and honestly, kind of therapeutic. Let’s tie some glory.
1. Classic Two-Loop Bow
Simple, elegant, zero drama. The standard bow you picture on every perfect present. Great with satin or grosgrain.
- Make two equal loops, cross them, tuck one loop through the hole, and pull.
- Adjust until loops match and tails hang evenly.
- Pro tip Pinch the center tightly while adjusting to keep symmetry locked in.
This works because the crossed loops create a stable center that stays perky without fuss.
2. Tailored Gift-Box Bow
That crisp, department-store moment. Clean lines, perfect center, zero floppy chaos.
- Wrap ribbon around the box both directions and tie a snug single knot in the middle.
- Make two loops and tie the classic bow over the knot.
- Pro tip Use double-faced satin so both sides gleam equally.
It works because the base knot anchors tension, so the bow sits perfectly centered.
3. Loopy Multi-Bow
Want volume? Add loops. Then add a few more.
- Create 3–5 loops on each side, stacking them at the center.
- Secure with floral wire, then fluff like you mean it.
- Pro tip Mix two ribbon widths for depth and drama.
Layered loops build dimension, so the bow looks lush from every angle.
4. Tail-Down Cascading Bow
Elegant tails that drape like couture. Perfect for wreaths and banisters.
- Form two large loops and leave long tails.
- Tie and then curl tails with gentle finger rolls.
- Pro tip Cut tails at a 45° angle or fishtail for polish.
The long tails draw the eye downward, creating graceful movement.
5. Double Bow Stack
Two bows, one center, maximum drama. Extra without being extra-extra.
- Tie a small bow. Tie a larger bow. Stack small over large.
- Secure with wire or a thin ribbon wrap in the center.
- Pro tip Contrast matte and satin for instant luxe.
The stacked layers add height and texture, making even simple ribbon look fancy.
6. Pinch Center Bow
That boutique-style scrunch in the middle. Looks chic, feels artsy.
- Create two loops and pinch the center into an accordion fold.
- Wrap a thin strip of ribbon around the pinch and knot at the back.
- Pro tip Use a glue dot under the wrap to keep it seamless.
The pinch compresses bulk and defines the bow’s shape for a sculpted finish.
7. Wire-Edge Statement Bow
If you want it to hold shape all day, this is your bow. Big, bold, obedient.
- Use wired ribbon and form oversized loops.
- Tie at center, then mold loops like you’re styling hair.
- Pro tip Steam lightly to relax creases before shaping.
Wire builds structure so the bow keeps that runway volume.
8. Minimal Knot Bow
Understated but chic. Think small gift boxes and invitations.
- Wrap once and tie a single tight knot with short, neat tails.
- Skip loops for that clean, modern look.
- Pro tip Choose thin velvet or twill for grip and elegance.
It works because the simplicity spotlights texture and material.
9. Bunny Ears Bow
Fast, foolproof, kid-friendly. Also adult-with-caffeine friendly.
- Make two loops (bunny ears), cross, pull through, tighten.
- Adjust by pulling loops and tails until even.
- Pro tip Mark the ribbon’s midpoint so the bow lands dead center.
The symmetric start makes balancing the bow quick and intuitive.
10. Dior-Inspired Flat Bow
That sleek, fashion-house vibe. Sits flat and looks expensive.
- Wrap two flat loops (no puff), stack them, and tie with a narrow center strip.
- Keep tails short and crisp.
- Pro tip Press with a warm iron under a cloth to set the shape.
The flat construction reads polished and graphic, perfect for boxes and bags.
11. Pom-Pom Bow
Fluffy, festive, and joyful. Like a celebration explosion, but cute.
- Wrap ribbon around your hand 10–12 times, slide off, tie center.
- Cut loop ends and fluff into a sphere.
- Pro tip Mix two colors for instant confetti energy.
All those small segments create volume that looks full from every angle.
12. Long Ribbon Hair Bow
Soft, romantic, and influencer-approved. Perfect for ponytails and braids.
- Tie a small bow with extra-long tails.
- Let tails trail, trimming for balance.
- Pro tip Use silk or satin and add a clear elastic under the knot for stability.
The long lines frame the hair and add graceful movement.
13. Napkin Bow for Tablescapes
Set the vibe before the food arrives. Fancy without fuss.
- Fold napkin, wrap ribbon around center, tie a small bow on top.
- Angle tails to match plate width.
- Pro tip Choose slim grosgrain so it stays put on fabric.
The centered bow anchors the table setting and adds texture to the plate.
14. Asymmetrical Artsy Bow
Intentional “I woke up like this” energy. Stylishly undone.
- Make one loop larger than the other and leave one longer tail.
- Keep the knot snug so it still reads deliberate.
- Pro tip Pair with linen or raw silk for organic texture.
The off-balance proportions create visual interest without overworking it.
Conclusion
Bows aren’t rocket science—they’re a couple of loops, a tug, and some attitude. With these styles, you can dress up gifts, doors, outfits, and honestly your entire personality. Pick your vibe, grab your ribbon, and tie like you mean it.