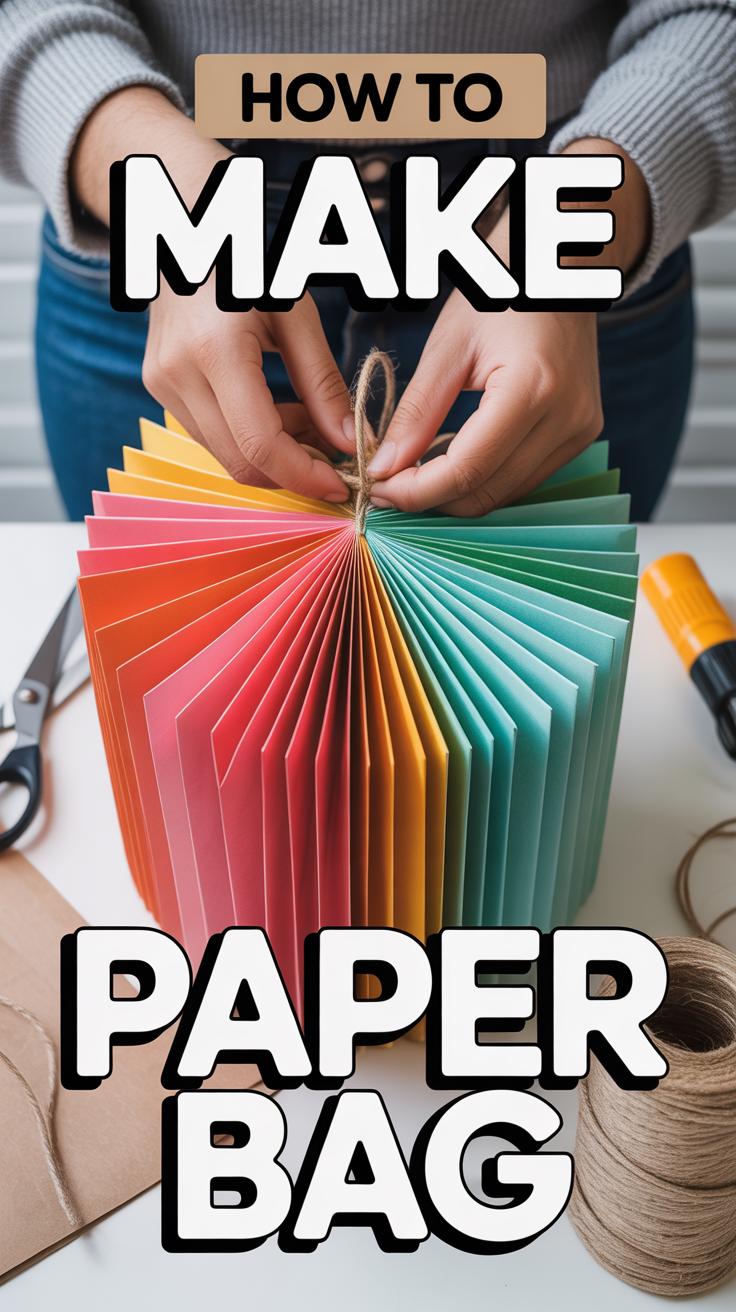
🛍️ How To Make Paper Bag
Ready to turn humble paper into a chic little bag that actually holds stuff? Grab your supplies, cue the crafty confidence, and let’s fold our way to glory. Zero sewing. Minimal drama. Maximum “wait, you made that?” energy.

1. Classic Gift Bag
The OG bag. Clean lines, easy folds, looks store-bought if you squint. Perfect for last-minute gifting without the sad crumpled tissue look.
- Use kraft paper or cute patterned paper.
- Fold sides to overlap, glue seam, create a bottom gusset.
- Fold top edge for strength, punch holes, add ribbon handles.
Pro tip Fold the bottom twice before gluing to double-layer the base. It handles tiny mugs like a champ.
It works because the gusset design stabilizes the shape and distributes weight.
2. No-Glue Folded Bag
Glue gun missing in action? No problem. This one locks itself with clever folds like origami’s practical cousin.
- Start with a rectangular sheet.
- Overlap sides, tuck edges to create friction lock.
- Fold a reinforced accordion bottom.
Pro tip Slightly score fold lines with a blunt knife for crisp edges.
It works because tension and layered folds hold everything snug.
3. Mini Favor Bag
Tiny bag, big personality. Great for treats, jewelry, or secret compliments.
- Use A5 paper for petite size.
- Create narrow sides and a micro gusset.
- Seal with washi tape or a mini clip.
Pro tip Add a small card stock base inside for structure.
It works because scaled-down proportions look polished and feel sturdy.
4. Lunch Bag Style
Think classic brown-bag vibes but make it cute. Roll top, snack-ready, endlessly reusable.
- Use kraft paper cut tall.
- Fold sides with deep gussets for volume.
- Roll the top and clip with clothespin or binder clip.
Pro tip Add a name label strip before rolling to keep it neat.
It works because the roll-top acts as a flexible closure that adjusts to contents.
5. Rope Handle Tote
Give your bag gym membership energy. Rope handles make it feel upscale and unbothered.
- Punch holes through a folded rim.
- Thread cotton rope, knot securely.
- Reinforce with washers or card patches inside.
Pro tip Melt rope ends lightly to prevent fraying.
It works because reinforced tension points prevent tearing under load.
6. Flat Paper Envelope Bag
Need sleek, not bulky? This slim number is perfect for cards, gift certificates, and flat snacks.
- Start with a wide rectangle.
- Side overlap with thin seam.
- Fold small bottom flap and glue.
Pro tip Use double-sided tape for invisible seams.
It works because minimal folds create a clean silhouette with just enough structure.
7. Boxy Bottom Shopper
Sturdy, square, and surprisingly roomy. It stands on its own like a well-trained cat.
- Create a deep box bottom with diagonal corner folds.
- Reinforce the base with cardboard insert.
- Add ribbon or paper-twist handles.
Pro tip Score all folds before shaping to nail those crisp edges.
It works because a rigid base + vertical walls equals pro-level stability.
8. Upcycled Magazine Bag
Make a bag, save the planet, flex your style. Glossy pages look designer on a budget.
- Laminate with clear tape for durability.
- Use two magazine sheets side-by-side for width.
- Reinforce handles with eyelets.
Pro tip Align images across seams for a continuous visual.
It works because coated pages resist tears and give a premium finish.
9. Gift Bag With Window
Show off the goodies without playing peekaboo. A clear window = instant excitement.
- Cut a front panel window.
- Tape cellophane inside.
- Build the bag around it with a boxy bottom.
Pro tip Round the window corners to reduce tearing.
It works because transparency invites curiosity while staying sturdy.
10. Twisted Paper Handles
Handles made from the bag itself. Minimal supplies, maximum cohesion.
- Twist strips of scrap paper tightly.
- Glue ends between the rim fold layers.
- Clamp until dry for strength.
Pro tip Lightly dampen strips before twisting for smoother ropes.
It works because layered paper fibers lock tight when glued under compression.
11. Color-Blocked Bag
Make it pop with bold panels. Easy technique, designer energy.
- Join two contrasting papers with seam tape.
- Place the seam at the front for a statement.
- Use matching handles and tags.
Pro tip Keep one neutral and one bright for balance.
It works because strong visual contrast looks intentional and chic.
12. Reversible Pattern Bag
Two moods, one bag. Flip the vibes without rebuilding.
- Use double-sided paper or laminate two sheets.
- Fold so seams hide between layers.
- Attach handles with brads for a clean finish.
Pro tip Keep patterns small-scale to avoid visual chaos.
It works because hidden seams and double layers add strength and style.
13. Stitched Paper Bag
Yes, you can sew paper. And yes, it looks gorgeously edgy.
- Use a long stitch length to prevent tearing.
- Sew side seam and base for reinforcement.
- Add a folded rim after stitching.
Pro tip Place washi along stitch lines to reduce perforation.
It works because stitches distribute stress more evenly than glue alone.
14. Fold-Over Clutch Bag
Date-night cute with paper? Watch me. Sleek and simple.
- Make a flat bag with a tall top margin.
- Fold over twice to close.
- Secure with velcro dot or a sticker.
Pro tip Add a thin magnet pair for a satisfying snap.
It works because the fold acts as a natural lock while keeping the profile slim.
15. Painted Kraft Art Bag
Functional canvas meets craft-therapy. No two bags alike.
- Use thick kraft paper for paint.
- Add brushy stripes, stamps, or splatters.
- Seal with a light matte spray.
Pro tip Mask edges with tape for crisp graphic blocks.
It works because custom finishes turn a simple build into a gift-worthy piece.
Conclusion
Paper bags aren’t just emergency gift packaging. They’re tiny architecture with big style. With a few folds, some glue, and your creativity, you’ll turn scraps into sturdy, good-looking carriers that flex your craft skills and save the day—again and again.