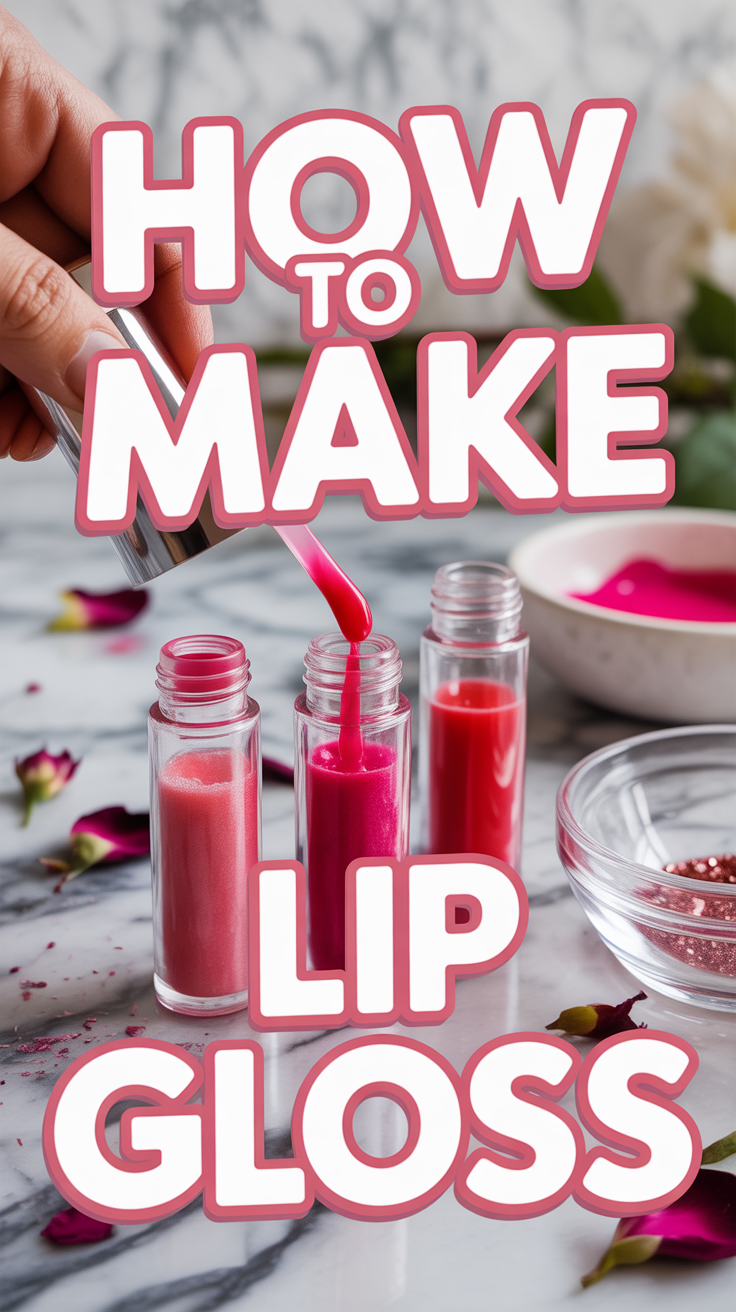
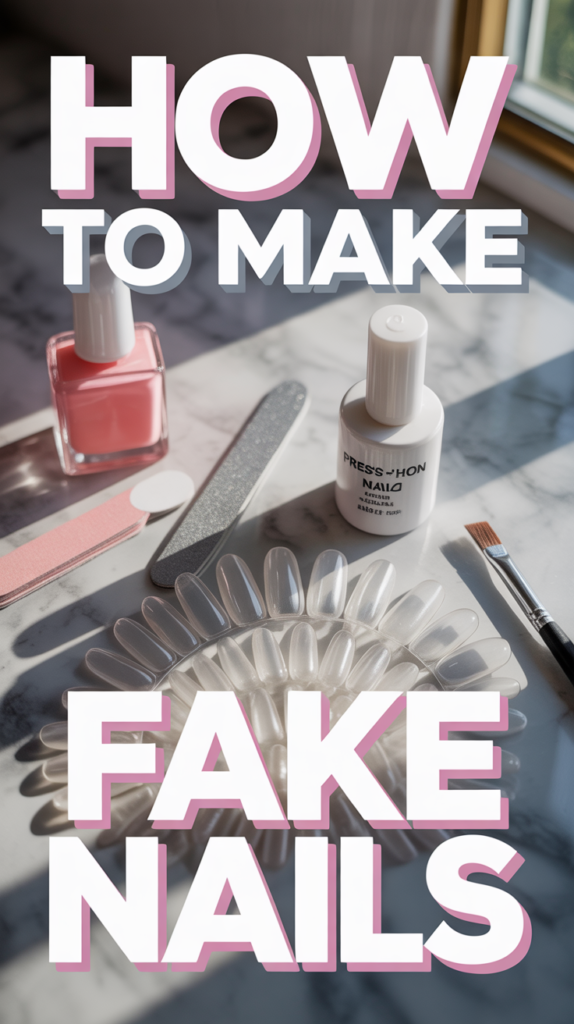
💅 How To Make Fake Nails
Craving salon nails without the salon bill? Same. Let’s whip up gorgeous DIY fake nails at home, using stuff you actually have and techniques that don’t require a nail tech license. Zero gatekeeping, maximum sparkle.
1. Press On Tips With Nail Glue
Fast, clean, and classic. You pick the shape, stick them on, and boom—instant manicure energy.
Key points:
- Use pre-shaped tips that match your nail curve.
- Prep nails: push cuticles, buff lightly, and dehydrate with alcohol.
- Apply a tiny bead of nail glue and press for 20–30 seconds.
Pro tip: Angle the tip from the cuticle and roll it down to avoid air bubbles.
It works because the glue bonds best to clean, matte surfaces—hello, long wear.
2. Gel Extensions With Forms
Salon-level length without the appointment. You sculpt the nail, you set the rules.
Key points:
- Slip nail forms under your free edge.
- Build with builder gel, then cure under LED.
- Shape with a 180-grit file for crisp edges.
Pro tip: Flash-cure each nail 10 seconds to lock shape before full curing.
It works because builder gel creates a solid, shapable structure that looks pro.
3. Gel X Style Soft Tips
Think press-ons but fancier and stronger. Soft gel tips bond like a dream.
Key points:
- Use pre-shaped soft gel tips that fit sidewall to sidewall.
- Apply builder gel inside the tip and press on.
- Flash-cure while holding, then full cure.
Pro tip: Etch the inside of the tip for better adhesion.
It works because gel on gel creates a seamless, durable extension.
4. Dip Powder Over Tips
Thick, strong, and surprisingly easy. Dip it like you mean it.
Key points:
- Apply clear tips and trim to length.
- Brush on bond/base, then dip into acrylic powder.
- Repeat for strength and finish with activator.
Pro tip: Tap off excess between layers to keep it smooth.
It works because layered powder builds a strong, even surface with minimal filing.
5. Acrylic Extensions With Forms
Old-school but undefeated. Stronger than your coffee.
Key points:
- Fit forms, then place beads of acrylic (liquid + powder).
- Pat and drag to sculpt the apex and tip.
- Let set, then file and refine.
Pro tip: Work medium-wet beads for control and fewer bubbles.
It works because acrylic cures hard without a lamp and holds shape like a champ.
6. Dual Forms With Polygel
No sculpting stress, just press and cure. A neat freak’s dream.
Key points:
- Pick dual forms to match your nail width.
- Fill with polygel, press onto the nail, and cure.
- Pop off the form and finish-file.
Pro tip: Smooth polygel with slip solution for a glassy surface.
It works because the form creates a perfect underside and consistent thickness.
7. Silk Wrap Over Tips
Lightweight and natural-looking. Gentle but mighty.
Key points:
- Apply tips, then place silk wrap over the nail.
- Saturate with resin and let it set.
- Buff lightly for a smooth finish.
Pro tip: Seal edges with extra resin to prevent lifting.
It works because silk adds strength without bulky thickness.
8. Paper Template Press Ons
No tips? No problem. Make your own press-ons from scratch.
Key points:
- Use nail forms or baking paper as a base.
- Build layers of builder gel or polygel in your shape.
- Cure, pop off, refine, and glue on.
Pro tip: Add a thin apex for strength—flat nails crack fast.
It works because you control thickness, curve, and shape entirely.
9. Tea Bag Patch Extensions
Emergency nail surgery with your pantry. Weirdly effective.
Key points:
- Cut tea bag mesh to fit crack or tip area.
- Apply base coat, place mesh, and seal with more base or resin.
- Layer until solid, then shape.
Pro tip: Use clear builder gel over the patch for longer wear.
It works because the mesh reinforces the structure like mini fiberglass.
10. Reusable Press On Sets
Custom nails on demand. Pop them on, pop them off—commitment-free.
Key points:
- Size and shape full-cover tips to your nails.
- Paint and design off the nail for clean art.
- Apply with adhesive tabs for temporary wear.
Pro tip: Store sets on a numbered card to keep sizes organized.
It works because you prep once and reuse forever like tiny outfits for your fingers.
11. Builder Gel Over Natural Nail With Extensions
Grow a little, add a little. Hybrid length that looks real.
Key points:
- Attach short tips or sculpt a tiny free edge.
- Overlay with builder gel to create strength.
- Cure and file a soft apex for durability.
Pro tip: Keep product 1 mm off the skin to avoid lifting.
It works because structured overlays protect and extend without bulk.
12. Acrylic Dip Using Forms Only
No tips, no problem. Build the entire nail with powder.
Key points:
- Place forms, brush on resin, then dip the tip area.
- Layer until you reach the length and thickness you want.
- Activate, then shape and seal.
Pro tip: Pinch slightly while setting for a salon-style C-curve.
It works because layered resin and powder harden into a strong, lightweight extension.
Conclusion
You’ve got twelve ways to fake it like a pro and keep your coins. Pick your vibe—quick press-ons, sculpted gel, or bulletproof acrylic—and flex those fingertips. Strong prep, thin apex, smooth finish. That’s the recipe for nails that look expensive and behave accordingly.