🧵 How To Make Bracelets With Thread
Ready to turn a humble spool of thread into wrist candy? You don’t need a jewelry studio, just patience, snacks, and maybe a catchy playlist. We’re making bracelets that look boutique-level but cost latte-money. Let’s knot, braid, and twist like crafty legends.

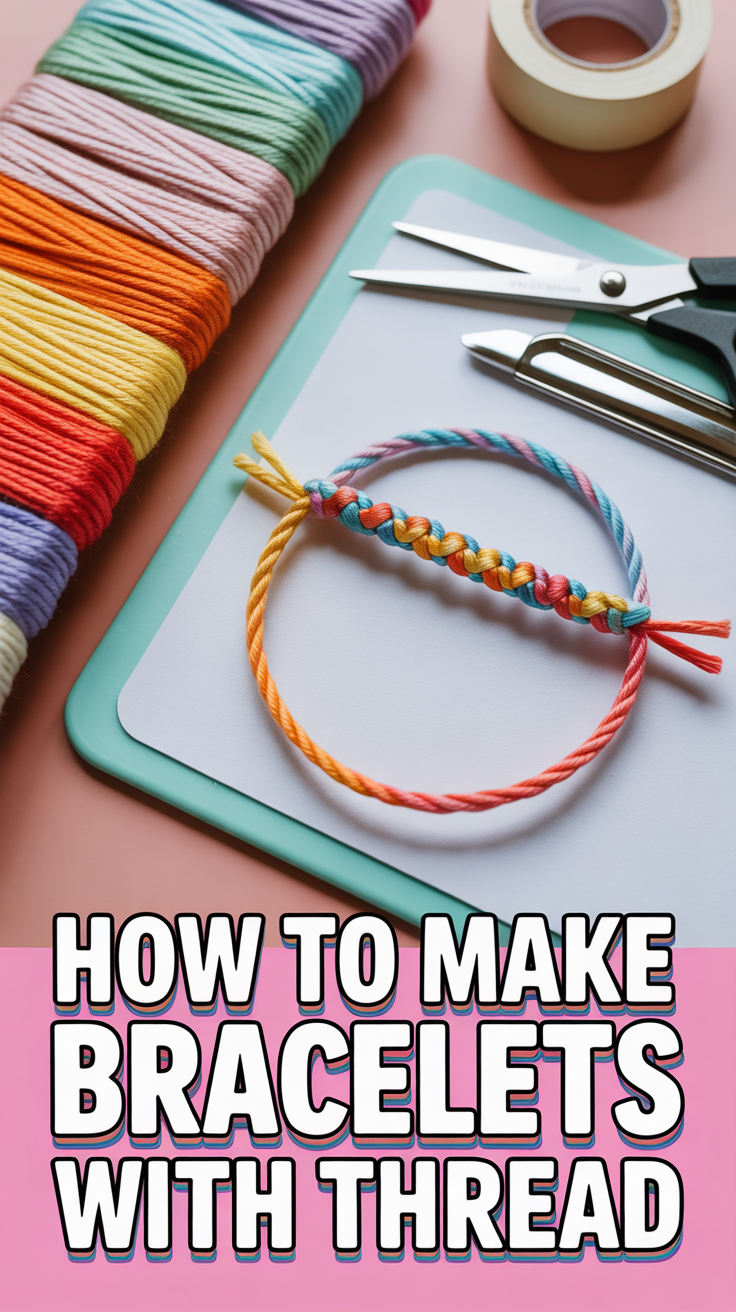
1. Classic Friendship Braid
Old-school, stylish, and impossible to mess up. This is your starter pack bracelet that still looks chic.
Key points:
- Use 6–8 strands of embroidery floss.
- Tie a basic overhand knot to start, then braid tightly.
- Mix contrasting colors for pop.
Pro tip: Tape the top to your desk or use a clipboard so your braid doesn’t wander off.
It works because the simple braid highlights color combos without complicated knots.
2. Chevron Pattern
Bold V shapes that scream “I actually know what I’m doing.”
Key points:
- Cut equal-length threads and mirror your colors on both sides.
- Use forward and backward knots to build that crisp chevron.
- Keep knot tension consistent for sharp lines.
Pro tip: Sort threads before every row to prevent color chaos.
It works because mirrored colors naturally form those graphic Vs.
3. Candy Stripe
Diagonal lines with zero stress. This is the binge-watch project.
Key points:
- Line up multiple colors, then repeat forward knots left to right.
- Rotate the leading color as you progress.
- Ideal for left-to-right knotters.
Pro tip: Use at least five colors for a rainbow effect that never gets boring.
It works because the pattern builds itself with minimal brain power.
4. Spiral Twist
Minimal effort, corkscrew vibes. Think cute, fast, and forgiving.
Key points:
- Group threads, choose one lead color, and do repeated half-hitch knots.
- The twist forms naturally as you go.
- Great for variegated thread.
Pro tip: Flip direction halfway to straighten the twist if it spirals too tight.
It works because simple repetition creates texture without complex patterns.
5. Square Knot Macramé
Sleek and structured, like your favorite blazer but for your wrist.
Key points:
- Use two center cords and two working cords.
- Tie alternating square knots for a flat, neat band.
- Add a bead focal in the middle.
Pro tip: Waxed thread gives cleaner knots and fewer frays.
It works because square knots create a tidy, uniform texture.
6. Chinese Staircase
Stacked spirals that look intricate but are super chill.
Key points:
- Wrap one thread around the bundle with repeated half-hitches.
- Switch wrapping colors for stripes.
- Choose bold contrast for definition.
Pro tip: Count wraps per color to keep segments even.
It works because consistent wrapping forms a polished, spiral staircase effect.
7. Beaded Thread Ladder
Delicate, airy, and surprisingly sturdy. Minimalist jewelry vibes.
Key points:
- Use two base threads and one weaving thread.
- Add beads between the bases to form a ladder.
- Choose seed beads that fit your thread twice.
Pro tip: Preplan bead colors on a mat so you don’t panic mid-weave.
It works because the structure balances negative space and sparkle.
8. Fishtail Braid
Elegant and quick, like a ponytail upgrade turned bracelet.
Key points:
- Split threads into two sections.
- Alternately cross a thin strand from each side to the center.
- Use two tones for definition.
Pro tip: Keep sections flat and untwisted for a clean chevron texture.
It works because the tight interlacing looks refined with minimal steps.
9. Alpha Pattern Name Bracelet
Spell your name, your pet, or your favorite snack. No judgment.
Key points:
- Use multiple base strings and one working string.
- Follow a grid chart to “pixel” letters with backward/forward knots.
- Use contrasting letters for readability.
Pro tip: Print a simple alpha chart so you don’t freestyle a mystery font.
It works because structured grids keep text crisp and legible.
10. Wrapped Thread Bangle
Upcycle a plain bangle with thread wraps. Instant glow-up.
Key points:
- Use a rigid base like a metal or plastic bangle.
- Wrap tightly with embroidery floss, securing ends with glue.
- Add metallic segments for luxe contrast.
Pro tip: Start and end on the inside, then seal with clear nail polish.
It works because the even wrap looks sleek and professional.
11. Adjustable Sliding Knot
Make it adjustable so it fits you, your friend, and your future self.
Key points:
- Create two overlapping ends and tie sliding knots around each side.
- Works on braided or macramé bands.
- Makes gifting risk-free for sizing.
Pro tip: Burn or glue tiny end nubs to prevent fraying.
It works because the mechanism tightens smoothly and looks clean.
12. Ombre Gradient Weave
Soft color fade that looks fancy without trying too hard.
Key points:
- Pick threads in a light-to-dark palette.
- Braid or knot in an order that encourages a gradient flow.
- Keep knots uniform to highlight color, not texture.
Pro tip: Double the center shade to blend transitions smoothly.
It works because gradual color shifts feel polished and intentional.
13. Micro Macramé With Charms
Delicate knots plus a tiny charm for that curated look.
Key points:
- Use fine nylon thread for crisp micro knots.
- Add a small center charm or dangle near the clasp.
- Keep the band thin to let the charm shine.
Pro tip: Use binder clips as mini third hands while knotting.
It works because the detail-to-weight ratio feels elevated but wearable daily.
14. Braided Kumihimo Disk
Round, even braids that look machine-made. Spoiler: you did that.
Key points:
- Load threads on a foam disk and follow a simple move pattern.
- Experiment with eight-strand layouts for color spirals.
- Add a magnetic clasp for a sleek finish.
Pro tip: Use bobbins to keep threads tidy and tension perfect.
It works because the disk controls tension, giving a smooth, consistent braid.
Conclusion
Your wrists are about to be the main character. With a few knots, some color play, and a couple strategic beads, you’ve got custom pieces that look boutique-made. Start simple, level up when you’re bored, and remember: perfect tension beats perfect tools every time.