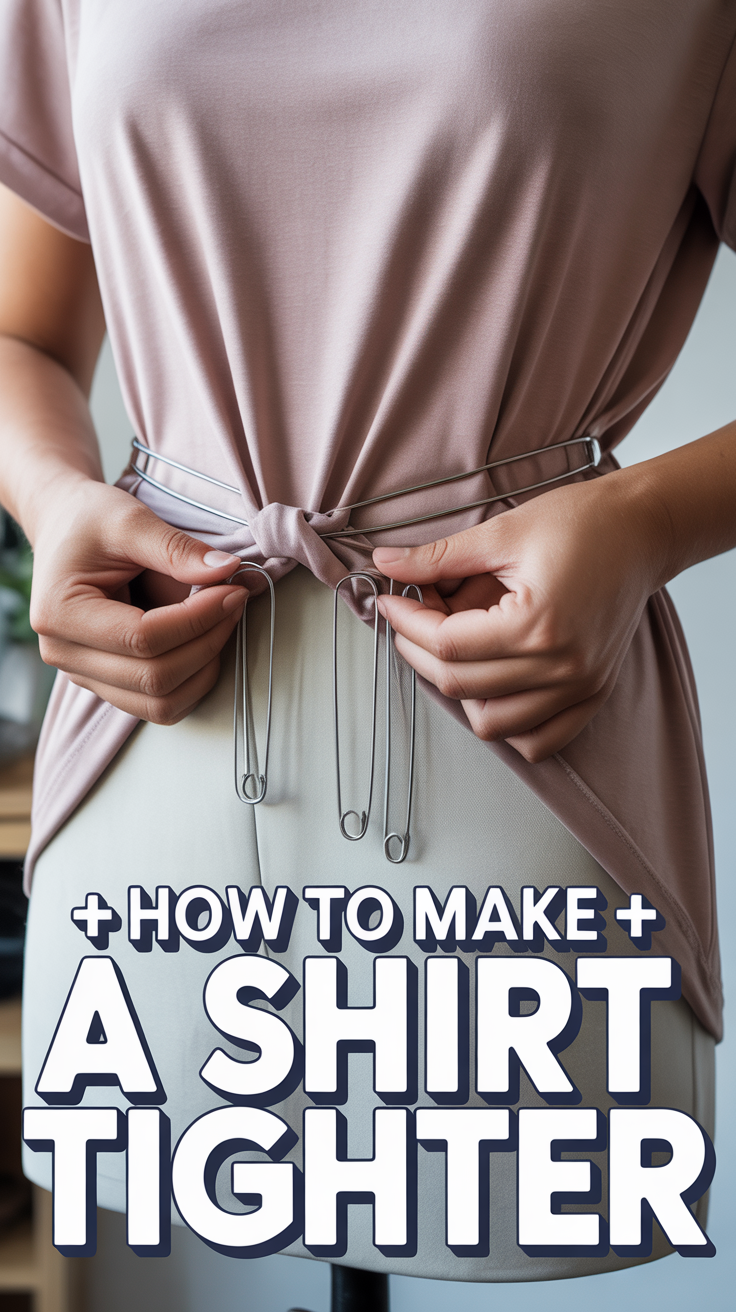
🪡 How To Make A Shirt Tighter
Your shirt’s giving “oversized on accident”? Cool, we can fix that. Whether you want a quick hack for tonight or a proper tailor-level glow-up, here are foolproof ways to snug things up without stress. Pick your vibe: temporary, semi-permanent, or full-on commitment.

1. Hot Wash Shrink
Fast, low-effort, sometimes magic. Toss the shirt in a hot wash and follow with a high-heat dry to encourage fiber shrinkage—especially for cotton. Expect subtle tightening, not size-morphing wizardry.
Pro tip Wash alone to control results and check after 10 minutes in the dryer so you don’t go from fitted to crop top by accident.
Heat tightens fibers, making the shirt feel closer and neater.
2. Boil-and-Shrink Method
For maximum shrink potential. Boil water, submerge the shirt for a few minutes, then dry on high. Best for 100% cotton—avoid delicate blends.
Pro tip Target areas by dipping only the hem or sleeves if you don’t want total shrinkage.
Hot water relaxes fibers; drying resets them in a smaller form.
3. Take in the Sides with a Simple Stitch
Sewing newbie? You’ve got this. Turn the shirt inside out, pin along the side seams, and sew a gentle curve from the armpit down.
Pro tip Use a stretch stitch for knits and try it on after basting before committing.
Reducing side seam width trims volume without messing with the neckline or shoulders.
4. Add Back Darts
Instantly tailored, zero boxiness. Mark two vertical lines on the back, pinch about 0.5–1 inch per dart, and sew.
Pro tip Start darts just below the shoulder blades and end above the waist for a natural curve.
Darts remove excess fabric at the waist, creating shape while keeping length.
5. Elastic Cinch at the Waist
Secret stretch for a custom fit. Sew a channel or zigzag elastic directly inside the waistline to gather the fabric neatly.
Pro tip Use clear elastic for tees and thin fabrics to keep it low-profile.
Elastic pulls in the middle without affecting shoulder or sleeve fit.
6. Safety Pin Tucks
No-sew, zero-commitment. Pin small vertical tucks at the back or sides and hide them inside.
Pro tip Use mini locking safety pins and place them under a cardigan or jacket seam line.
Micro tucks “borrow” fabric to create a fitted silhouette fast.
7. Fabric Belt or Tie Hack
Use what you’ve got. Add a thin belt over the shirt or tie a ribbon at the waist to define shape without altering anything.
Pro tip If the shirt is long, tuck the bottom edge under the belt for a clean blouson effect.
External cinching creates structure and emphasizes your waist instantly.
8. Knot It at the Hem
The classic. Gather the front or side and tie a small knot to bring the shirt closer to your body.
Pro tip Use a clear hair elastic and tuck the tail under for a sleek finish.
Concentrating excess fabric in one spot tightens the rest visually and physically.
9. Layer with a Fitted Tank Underneath
Use friction to your advantage. A snug tank under your shirt reduces slippage and holds fabric against your body.
Pro tip Opt for a ribbed or compression tank to grip better.
Layering adds gentle tension, making the outer shirt sit tighter.
10. Tuck-and-Clip at the Back
Backstage stylist trick. Gather extra fabric at the back, fold it neatly, and secure with a binder clip or fashion clip.
Pro tip Hide the clip under a blazer or hair if you’re slick.
It removes width where it’s most obvious—right behind you.
11. Side Seam Tape for Temporary Take-In
When you need a clean look without stitches. Use double-sided fashion tape to fold and stick a faux seam inside.
Pro tip Press firmly and avoid high-stretch areas to prevent lifting.
The taped fold reduces circumference invisibly for a few hours.
12. Hem Lift to Shorten and Shape
Shorter can look tighter. Raise the hem by tucking or hemming to hit your natural waist and reduce boxiness.
Pro tip For tees, try a curved front hem for a slimming effect.
Adjusting length changes proportions and reduces billow.
13. Sleeve Slim-Down
Bulky sleeves make the whole shirt look big. Take in sleeve seams slightly or add a small dart near the cuff.
Pro tip Aim for a gentle taper from bicep to cuff—tiny changes, big impact.
Snugger sleeves visually tighten the entire silhouette.
14. Tailor the Shoulders with a Quick Lift
Shoulders too wide? Add small shoulder lifts by shortening at the seam or raising the shoulder with a tiny tuck.
Pro tip Hand-baste first; a 0.25 inch lift per side can clean up droop fast.
Better shoulder fit pulls the chest and sleeves closer.
15. Full Reshape with a Pattern Trace
For DIY pros. Trace a well-fitting shirt onto the oversized one, then cut and sew to match those lines.
Pro tip Leave seam allowance and finish edges with a zigzag or serger to avoid fraying.
Using a proven pattern gives a precise, long-term tighter fit.
Conclusion
You’ve got options—from “I need this snug by dinner” to “I’m basically a tailor now.” Pick the method that matches your fabric, commitment level, and patience.
Whether you shrink, stitch, or sneak a clever tuck, a tighter shirt is totally doable—and you’ll look sharp without buying new. Consider this your cheat sheet to instant fit glory.