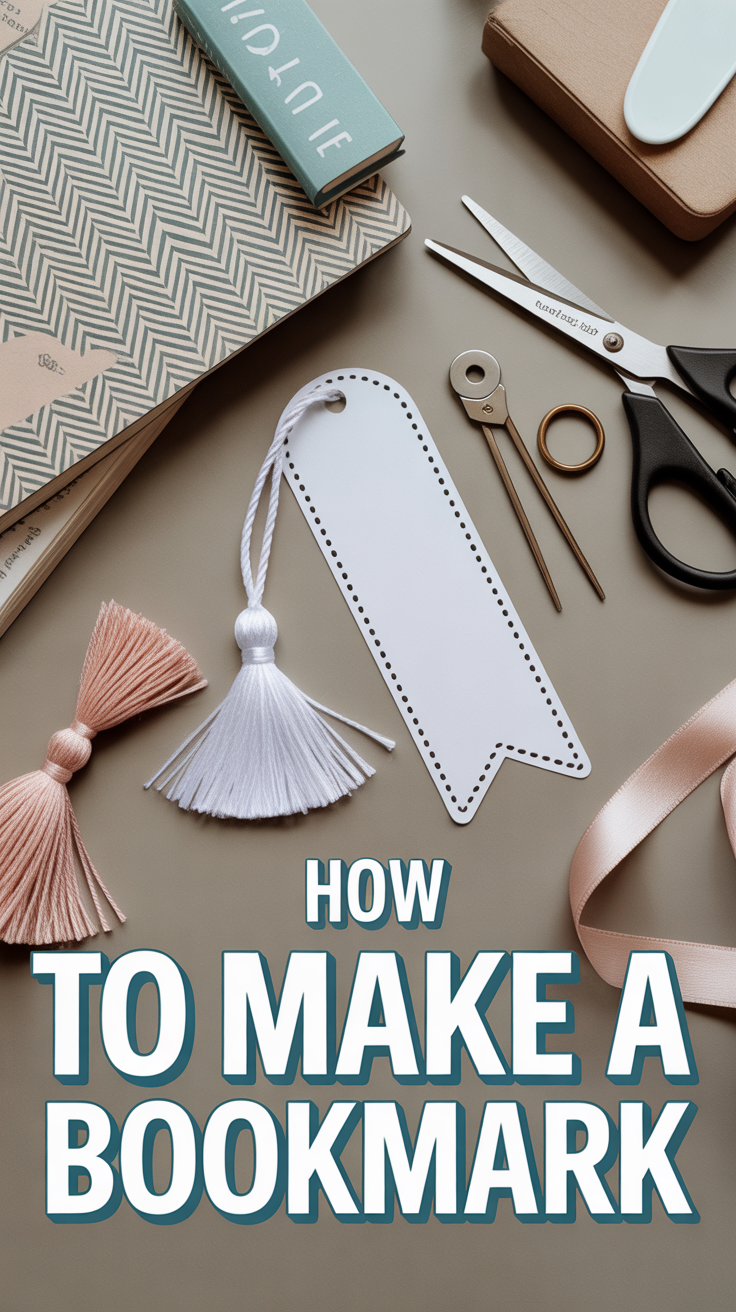
📚 How To Make A Bookmark
Lose your place again? Not on our watch. Let’s whip up bookmarks that don’t look like they came from a library lost-and-found. Grab some scraps, a dash of personality, and a smidge of craft chaos. Your books are about to feel seen.

1. Classic Cardstock Ribbon
Clean, crisp, and fast. Cut a strip of sturdy cardstock, punch a hole, and thread a ribbon through. It’s the little black dress of bookmarks.
Decorate with washi tape, markers, or tiny stickers. Round the corners if you’re feeling fancy and want fewer paper pokes.
Pro tip: Add a piece of clear tape around the punched hole to stop tearing.
It works because it’s light, durable, and easy to personalize in five minutes flat.
2. Pressed Flower Laminate
Turn your last walk into a keepsake. Lay pressed flowers between two self-adhesive laminating sheets.
Trim clean edges and punch a hole for a simple cord. Choose flatter blooms like pansies so your book doesn’t bulge.
Pro tip: Use wax paper and a heavy book to press flowers for a few days first.
It works because the transparent finish shows off nature while staying smooth and durable.
3. Magnetic Corner Clip
No-slip, no-fuss. Fold a rectangle of decorative paper into a triangle, then stick thin magnets inside.
It hugs the page corner without leaving marks. Great for backpacks and chaotic commutes.
Pro tip: Use adhesive craft magnets for a cleaner finish and stronger grip.
It works because it clicks into place and stays put through page flips.
4. Paint-Chip Palette
Steal—uh, borrow—those colorful paint chips from the hardware store. Trim, punch, tassel, done.
Layer two shades for a chic gradient look. Add labels for genres if you’re organizing like a boss.
Pro tip: Cover with clear contact paper to prevent scuffs.
It works because the thick card stock and bold colors look designer with zero effort.
5. Leather Luxe Strip
Minimalist and timeless. Cut a thin strip of faux leather, bevel the corners, and add a small hole for a cord.
Stamp initials or a tiny symbol for character. Keep it slim so pages lie flat.
Pro tip: Use a rotary cutter for clean edges and a hole punch meant for leather.
It works because leather is flexible, durable, and screams “I read fancy.”
6. Origami Heart Corner
Fold, don’t glue. Use a square of origami paper to make a tidy heart that slides over the page corner.
Pick a pattern that pops against your pages. It’s light and fits in paperbacks like a dream.
Pro tip: Burnish folds with a bone folder (or a clean nail) for crisp lines.
It works because it locks on without bulk or residue.
7. Tassel Tag With Quotes
Make it motivational. Print or write a favorite book quote on a tag-shaped cardstock strip with a bold tassel.
Edge with metallic pen for a glowy finish. Choose high-contrast ink so it’s readable.
Pro tip: Seal with a thin layer of mod podge to protect your lettering.
It works because the tassel makes it easy to grab, and the quote keeps you inspired.
8. Fabric Scrap Stitch
Use those fabric leftovers. Sandwich fusible interfacing between two fabric strips and stitch around the edges.
Pick patterns that spark joy. Pink the edges for a cute zigzag that resists fraying.
Pro tip: Iron everything flat before stitching so it stays sleek.
It works because it’s soft, flexible, and basically indestructible.
9. Watercolor Wash Bookmark
Painterly and soothing. Brush a watercolor gradient on heavy paper, let it dry, then letter a word like “pause.”
Keep colors light so text is visible. Finish with a light spray seal.
Pro tip: Tape edges with masking tape while painting for crisp borders.
It works because the soft wash feels custom and the paper stays sturdy.
10. Beaded String Marker
Think jewelry for books. Thread seed beads and a small charm onto waxed cord, knot both ends.
Let the beads sit outside the book while the cord marks the page. Keep beads small to avoid dents.
Pro tip: Add a tiny crimp bead near the charm to lock placement.
It works because it’s elegant, adjustable, and won’t slip out.
11. Dried Citrus Slice
Citrusy and cottagecore. Dry thin orange or lemon slices, then coat with clear resin or laminate.
Add a small hole and cord. It smells faintly amazing for a while—bonus.
Pro tip: Dry in a low oven and press slices flat for even thickness.
It works because it’s flat, glossy, and delightfully unexpected.
12. Photo Strip Memory
Personalize it with a mini photo strip. Print small pics, mount on black cardstock, and laminate.
Great for gifting and nostalgia vibes. Add a tiny label with the book’s start date if you’re tracking reads.
Pro tip: Leave a slim laminate border so it doesn’t peel.
It works because it’s meaningful, slim, and tough enough for daily use.
13. Comic Panel Cutout
For the graphic novel crowd. Snip a comic panel you love, mount on card, and cover with contact film.
Pick high-contrast panels for pop. Add a red thread tassel to match the drama.
Pro tip: Back it with black cardstock to prevent show-through.
It works because it celebrates art while staying lightweight.
14. Embroidered Paper Stitch
Paper meets thread. Pierce a simple pattern and stitch with embroidery floss on thick cardstock.
Geometric lines look modern and clean. Keep stitches flat to avoid bumps.
Pro tip: Pre-punch holes with an awl so the paper won’t tear.
It works because texture + color = instant upgrade.
15. Transparent Acetate Edge
Sleek and barely there. Cut a strip of clear acetate and add vinyl shapes or minimal stickers.
It slides without snagging and looks futuristic in any book. Go slim for elegance.
Pro tip: Round corners with a corner punch to avoid pokes.
It works because it’s smooth, durable, and lets the page shine through.
Conclusion
Saving your page doesn’t need a receipt or a sad tissue. With a few supplies and some flair, you can make a bookmark that actually sparks joy. Pick one, try it tonight, and let your next chapter wait patiently—like a well-behaved plot twist.