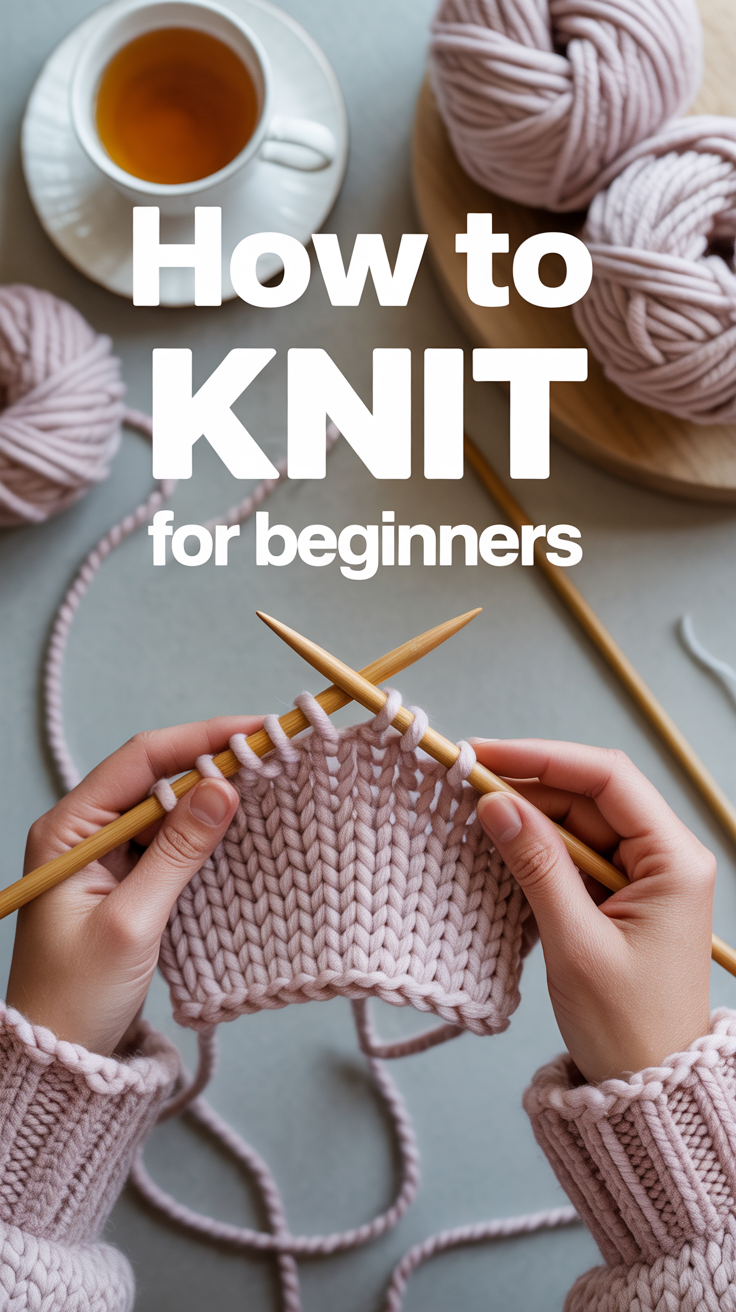
🧶 How To Knit For Beginners
Ready to turn a ball of yarn into something your grandma would brag about? Perfect. You don’t need mystic powers—just two sticks, some string, and a sprinkle of patience. I’ll walk you through the basics without the yawns, so your first scarf doesn’t look like it fought a lawnmower.

1. Pick the Right Tools
Start simple. Grab medium-weight yarn and US 8–9 needles. Acrylic or wool blends behave nicely and forgive your rookie grip.
Why these? They’re not slippery, the stitches are visible, and your hands won’t cramp in protest.
Pro tip: Choose a light color yarn. Dark yarn hides mistakes like a ninja—until you need to fix them.
This combo builds confidence fast and sets you up for cleaner stitches.
2. Learn the Slipknot and Cast On
Your first move: attach yarn to needle with a slipknot, then long-tail cast on for a stretchy, beginner-friendly edge.
The long-tail cast on gives structure without strangling your project. It’s the gateway to everything else.
Pro tip: Measure tail length by wrapping the yarn around the needle the number of stitches you want, then add a little extra—boom, no mid-cast-on panic.
Mastering this makes your starts neat and your future self grateful.
3. Nail the Knit Stitch
This is the star of the show. Insert needle, wrap yarn, pull through, slide off—repeat like a zen robot.
The knit stitch creates smooth Vs on the front. Practice on a small square so your hands memorize the rhythm.
Pro tip: Keep your tension loose. If your knuckles turn white, your stitches will too.
Once this clicks, the rest of knitting feels way less mysterious.
4. Add the Purl Stitch
Purl is knit’s spicy cousin. It gives texture and lets you make ribbing and stockinette.
With purl, the yarn sits in front. It pairs with knit to create fabric that actually looks store-bought.
Pro tip: Practice rows of knit, then purl, then alternate—your brain needs the switch.
Learning both opens the door to nearly every pattern you’ll ever love.
5. Master Tension and Hand Position
Your stitches should slide, not squeak. Experiment with how you wrap yarn around your fingers.
Consistent tension makes your fabric even and your edges behave. Your hands will find their own groove.
Pro tip: If stitches are tight, use a larger needle for a few rows to reset your feel.
Good tension is the secret to professional-looking knitting without tears.
6. Read Your Stitches
Stop guessing. Learn to spot a knit V and a purl bump.
This lets you fix mistakes and know what row you’re on without counting to infinity. It’s knit literacy.
Pro tip: Place a stitch marker every 10 stitches. It’s like breadcrumbs for your sanity.
When you can read your fabric, you control the project—not the other way around.
7. Start with a Simple Project
Make a garter stitch scarf or a dishcloth. Low risk, high win.
Repetition cements technique and shows progress fast. Plus, dishcloths don’t judge.
Pro tip: Cast on 30 stitches with worsted yarn and knit every row until it’s square.
Small projects deliver quick dopamine hits and keep you going.
8. Fix Common Mistakes
Dropped stitch? Split yarn? Welcome to the club. Learn the lifeline and crochet hook rescue.
Sliding a lifeline through a row saves hours of drama. A tiny hook will pick up strays like a pro.
Pro tip: Run a contrasting thread through a good row before trying new techniques.
Knowing how to fix things makes you fearless—and faster.
9. Bind Off Cleanly
Finish strong with a basic bind off. Knit two, lift the first over, repeat.
Keep it loose so the edge doesn’t pucker. Match the cast-on stretch for symmetry.
Pro tip: Use a needle one size bigger for the bind off if your edges cinch.
A neat finish makes your first project look polished, not panicked.
10. Care for Your Knits
Treat your creations like the royalty they are. Hand wash gentle fibers and lay flat to dry.
Label says superwash? Cool. Otherwise, your scarf might become a doll blanket.
Pro tip: Block your piece by pinning it to shape after a gentle wash.
Proper care makes your stitches bloom and your hard work last.
Conclusion
Knitters aren’t born; they’re made one stitch at a time. Start with the basics, keep it loose, and celebrate the wobbly rows—they’re proof you showed up. With these steps, you’ll go from yarn chicken to cozy-maker in no time.