✉️ How To Fold A Letter
Alright, digital natives, gather ’round. In a world of instant messages and emoji-laden texts, there’s something ridiculously charming about a good old-fashioned letter. But let’s be real, just scribbling down your thoughts is only half the battle. You gotta fold that paper like a boss, right? Forget boring creases; we’re talking about making that handwritten gem an experience from start to finish. Get ready to impress, because we’re about to dive into the surprisingly chic art of paper folding.
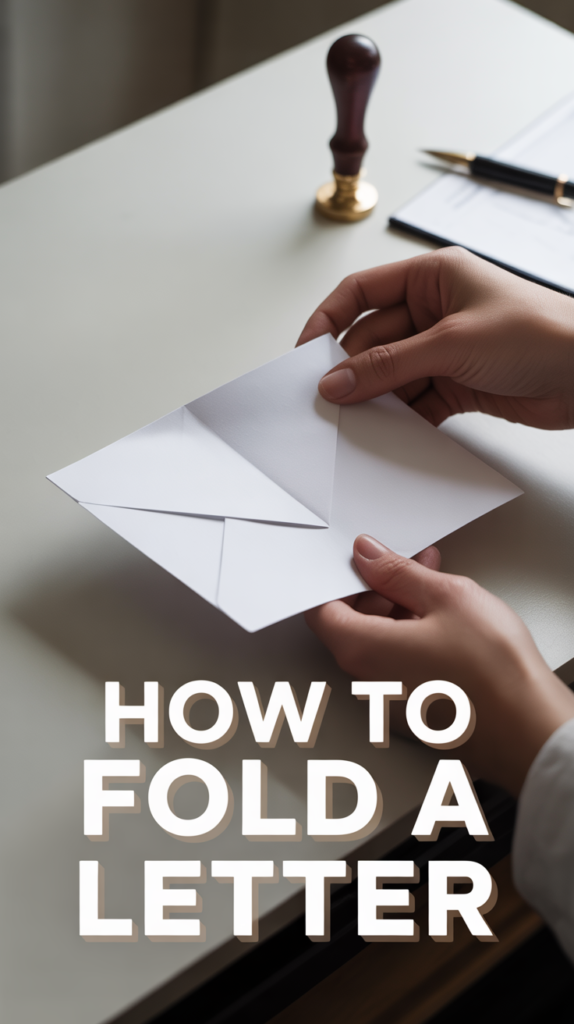
1. The Classic Tri-Fold
You know this one, even if you don’t know this one. It’s the standard, the reliable, the workhorse of letter folding. This fold is your go-to for anything official or just when you need it to fit perfectly into a standard envelope without a fuss.
Grab your letter, fold the bottom third up, then bring the top third down to meet it. Bam! Three neat sections. It’s so simple, yet so effective. This is how you make your utility bill look almost elegant.
Pro tip: Make sure your first fold from the bottom is precise. It sets the stage for the rest of the letter to align perfectly. This method screams efficiency and makes you look like you’ve got your life together.
2. The Simple Bi-Fold
Feeling lazy but still want to send a physical note? The bi-fold is your spirit animal. It’s the quickest, no-fuss way to get your message from point A to point B, especially for shorter notes or informal hellos.
Just take your paper and fold it exactly in half. Vertically or horizontally, your choice, rebel. This is perfect for when you’re slipping a quick note into a gift bag or handing it off in person.
Pro tip: If you’re using thicker paper, press down firmly on the crease for a crisp, clean edge. It makes the simplicity look intentional, not rushed. This fold is all about maximum impact with minimum effort.
3. The Accordion Fold
Want to add a little flair without breaking a sweat? The accordion fold is playful and reveals your message in a fun, sequential way. It’s like a mini curtain reveal for your words.
Start by folding a small section from the bottom, then flip the letter and fold the next section back the other way, continuing until you reach the top. You’re creating a cool ‘M’ or ‘W’ shape. It’s super satisfying to unfold.
Pro tip: Keep your folds consistent in width for the best visual effect. This fold works wonders for longer messages, building anticipation with each unfolding section.
4. The Envelope Tuck Fold
Forgot an envelope? No problem, you resourceful human! This fold turns your letter into its own mini-envelope, keeping your secrets safe and secure without extra supplies.
Fold your letter into a tri-fold or bi-fold first. Then, create a small flap at the top by folding a corner down. Tuck this flap into one of the existing folds to seal the letter shut. It’s like magic, but with paper.
Pro tip: Use a slightly thicker paper if you plan on sending it this way, as it adds durability. This method is perfect for those “oops, I forgot an envelope” moments, turning a potential blunder into a clever solution.
5. The Square Fold
Got a tiny, cute envelope begging for a letter? The square fold is your best friend. It makes your letter compact and adorable, fitting into those smaller, often more decorative envelopes.
Fold your letter in half horizontally, then fold it in half horizontally again. Next, fold it in half vertically. You’ll end up with a neat, perfectly square packet. So tiny, so chic.
Pro tip: Make sure your initial folds are even to prevent a lopsided square. This fold is ideal for short, sweet notes or invitations that need to fit into a petite package.
6. The Secret Message Fold
Channel your inner spy with this one. The secret message fold hides parts of your letter until specific folds are undone, adding an element of mystery and surprise.
This one’s a bit more intricate. You’ll fold the letter into an accordion, but then fold the ends inward and tuck them under other flaps, creating a puzzle-like reveal. They have to know the “trick” to fully open it.
Pro tip: Practice a few times to get the tucks just right. This fold is fantastic for party invitations with a hidden RSVP detail or a playful love note.
7. The Diagonal Fold
Bored with straight lines? Let’s get fancy. The diagonal fold offers a modern, artistic touch, making your letter stand out from the crowd of mundane rectangles.
Start by folding one corner down to the opposite side, creating a triangle. Then, fold the remaining rectangular sections around this triangle. You’ll end up with a unique, angular shape. It’s unexpected, in the best way.
Pro tip: Ensure your initial diagonal fold is sharp and precise. This fold is perfect for creative correspondence or when you want your letter to feel like a piece of art.
8. The Fan Fold
This fold is all about presentation, darling. The fan fold creates a beautiful, textured effect, making your letter feel special even before it’s fully opened. Think of it as a paper peacock.
Similar to the accordion, but you’ll make much smaller, narrower folds along one edge of the paper, like you’re making a paper fan. Then, you can fold the rest of the letter around this fanned edge.
Pro tip: Use a ruler for perfectly even fan pleats. This fold is fantastic for decorative notes, place cards, or anything where visual appeal is just as important as the message.
9. The Booklet Fold
Got a lot to say, but don’t want to send multiple pages? The booklet fold transforms a single sheet into a mini-booklet, perfect for longer messages or sequential storytelling.
Fold your paper in half horizontally, then in half vertically. Now, make a cut along the horizontal crease from the folded edge towards the center. Unfold, then refold into a four-page mini-book. Mind blown, right?
Pro tip: Use a sharp craft knife for a clean cut, but be careful! This fold is excellent for creating a small, personal zine or a multi-part narrative letter.
10. The Roll-Up Fold
Feeling ancient and regal? The roll-up fold gives your letter a scroll-like appearance, adding a touch of old-world charm and dramatic flair. Perfect for proclamations.
Simply roll your letter tightly from one end to the other. You can even tie it with a bit of twine or ribbon for extra pizzazz. It’s surprisingly satisfying to unroll.
Pro tip: Roll it as tightly and evenly as possible to prevent it from unraveling easily. This fold is ideal for invitations to a themed party or a dramatic declaration of affection.
11. The Heart Fold
This one’s for the romantics and the secret admirers. The heart fold is a sweet, thoughtful way to show someone you care, literally folding your love into the paper.
This requires a bit more origami magic. You’ll fold the corners and edges in specific ways to create a small heart shape from your letter. There are tons of tutorials online, so pick your favorite.
Pro tip: Use a lighter-weight paper for easier folding and crisper heart edges. This fold is absolutely perfect for Valentine’s Day, anniversaries, or just to send some extra love.
12. The Origami-Inspired Fold
Ready to level up? An origami-inspired fold turns your letter into a tiny piece of art, showcasing your dedication and unique style. Think beyond simple creases.
This category is broad, but imagine folding your letter into a simple paper crane, a boat, or even a star. The message is written on the paper before or after the fold, depending on complexity.
Pro tip: Start with simpler origami designs if you’re a beginner. This fold truly makes your letter a memorable keepsake, proving you put in extra effort.
13. The Window Fold
Give your recipient a sneak peek! The window fold reveals a tantalizing glimpse of your letter’s contents, building anticipation before they even fully open it.
Fold your letter in half vertically, then fold the outer edges inward, leaving a small gap in the middle. This creates a “window” where a key phrase or drawing can peek through. It’s a clever tease.
Pro tip: Position your message strategically so the “window” reveals something exciting or intriguing. This fold is awesome for invitations or notes with a big reveal.
14. The “No Crease” Fold
Sometimes, you want your letter to arrive pristine, like it was just pulled off the printer. The “no crease” fold minimizes hard lines, preserving the smooth integrity of the paper.
Instead of hard folds, you’ll gently roll or curve the paper into a cylinder. This works best for larger envelopes or when you’re hand-delivering. It keeps everything smooth and unblemished.
Pro tip: Use a wider envelope if you want to avoid any creases whatsoever. This fold is ideal for sending important documents or art prints you want to keep immaculate.
15. The Tiny Note Fold
Remember passing secret notes in class? This fold is for those ultra-discreet, miniature messages that need to be hidden in plain sight or slipped into a tiny space.
Start with a small piece of paper. Fold it in half multiple times, both horizontally and vertically, until it’s a minuscule square or rectangle. The goal is maximum compactness.
Pro tip: Use thin paper for the best results, as it allows for more folds without becoming bulky. This fold is perfect for quick reminders, inside jokes, or slipping into a fortune cookie (just kidding, mostly).
Conclusion
See? Folding a letter isn’t just about cramming paper into an envelope. It’s an art form, a subtle flex, a way to add personality to your prose. So ditch the digital for a moment, grab a pen and paper, and get folding. Your recipient (and your inner craft enthusiast) will thank you. Now go forth and fold like the paper whisperer you were always meant to be!