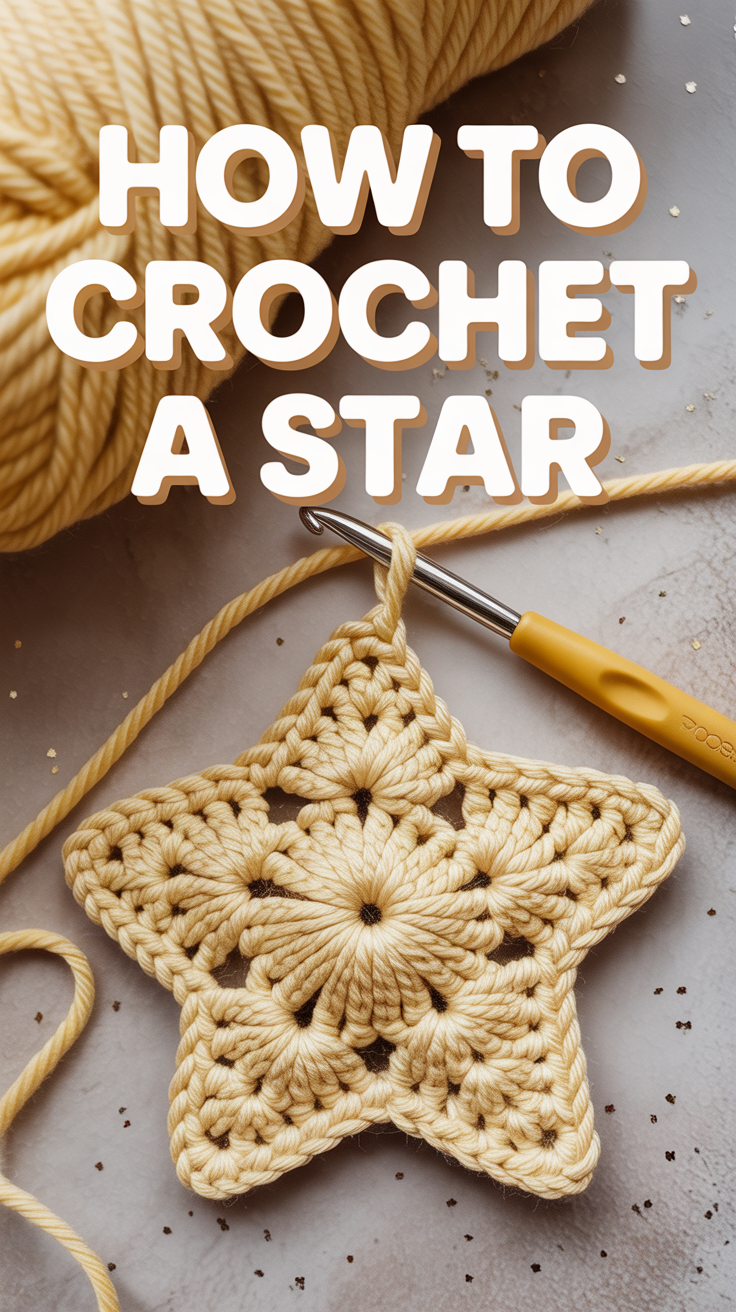
⭐ How To Crochet A Star
Ready to turn a ball of yarn into a galaxy? Let’s crochet a star that’s cute, sturdy, and totally brag-worthy. You’ll get crisp points, smooth rounds, and zero floppy chaos. Grab your hook, cue the cozy playlist, and let’s stitch some magic.

1. Pick the Right Yarn and Hook
Set yourself up for success with the right duo. Choose a worsted-weight cotton for crisp points or a DK acrylic for soft, puffy stars. A slightly smaller hook than the label suggests keeps your stitches tight.
Pro tip Use a 3.5–4 mm hook with DK, 4–4.5 mm with worsted for neat, non-gappy stars.
This combo keeps your shape clean and photo-ready.
2. Start With a Magic Ring
The magic ring makes a tidy, centered start. You’ll avoid that awkward donut hole in the middle. It also lets you control how tightly your center closes.
Pro tip After your first round, pull the tail gently, then again after the next round to fully close the gap.
It’s the cleanest foundation for symmetrical stars.
3. Build a Solid Center Circle
Work 10–12 single crochets into the ring for a stable base. The exact stitch count controls the star’s proportions. Keep tension even to prevent wobble.
Pro tip Place a stitch marker at the first stitch so your rounds don’t drift.
A well-formed center keeps all five points aligned.
4. Increase Smoothly Before the Points
You need a gentle expansion to avoid puckering. Do one or two rounds of evenly spaced increases (like 2 sc in every 3rd stitch). Don’t rush the shaping.
Pro tip If your circle ruffles, you increased too fast; if it cups, add more increases.
This gives you a perfect landing pad for star points.
5. Map Out Five Anchor Points
Divide your round into five equal segments. Use stitch markers to mark where each point will start. This keeps spacing balanced and avoids lopsided stars.
Pro tip Count stitches between markers; if the math’s off, adjust before you commit.
Even spacing equals aesthetically satisfying symmetry.
6. Crochet Tidy Star Points
Work each point as a small triangle. Start with foundation stitches (like dc or tr) and decrease toward the tip. Keep edges consistent so the points match.
Pro tip Try a sequence like: sc, hdc, dc, tr at the tip, then mirror back down.
Structured points create that crisp star silhouette.
7. Use Decreases for Sharp Tips
Decreases are your secret weapon. At the tip, use dc2tog or sc2tog to pinch the point neatly. It cuts bulk and sharpens the angle.
Pro tip Invisible decreases look cleaner; always work under the front loops.
Cleaner tips make your star look pro, not floppy.
8. Add a Decorative Border
Outline the star to make it pop. A round of slip stitch or reverse single crochet (crab stitch) adds texture and stability. It also hides tiny inconsistencies.
Pro tip Switch to a contrasting color for a bold, graphic edge.
Edges frame your work and elevate the finish.
9. Block for Perfect Points
Water + pins = magic. Wet block or steam block to sharpen the geometry. Pin each point and the valleys in between for symmetry.
Pro tip Use a template: draw a star on cardboard, cover with plastic, and pin precisely.
Blocking upgrades “cute” to “chef’s kiss.”
10. Make It Double-Sided and Stuffed
Want plush? Crochet two identical stars, place them wrong sides together, and join. Lightly stuff before closing.
Pro tip Join with slip stitches for a clean edge or sc for a slight ridge detail.
You get a squishy ornament, coaster, or mini pillow.
11. Turn It Into a Garland
Stars love company. Make five to nine and string them along a chain or cord. Alternate colors for playful vibes.
Pro tip Attach with slip stitches every few chains so they don’t slide around.
Instant party decor with minimal effort.
12. Add Sparkle and Texture
Dress it up without extra drama. Hold a strand of metallic thread with your yarn, or add surface slip stitches as constellations. A little shimmer goes far.
Pro tip Metallics can be scratchy—use them on the final round only.
Shine makes simple stars look luxe.
13. Turn It Into an Ornament or Keychain
Functional and adorable. Add a ch-12 hanging loop or a metal key ring. Reinforce the attachment with a few extra stitches.
Pro tip For keychains, use cotton so it doesn’t fuzz in your bag.
Now your star goes places—literally.
14. Finish Like a Pro
Weave ends invisibly. Use a tapestry needle and run the tail through the star’s interior in multiple directions. Trim only when secure.
Pro tip Split the yarn tail and weave in two directions to lock it down.
Clean finishing = durable, giftable, Instagrammable.
15. Quick Pattern Template
Here’s a speedy blueprint to try now. Round 1 MR, 10 sc. Round 2 2 sc in each (20). Round 3 (sc in next, 2 sc in next) around (30). Then make 5 points evenly: (sl st, sc, hdc, dc, tr, picot or ch 2, tr, dc, hdc, sc, sl st) across each segment.
Pro tip Adjust stitch heights for bigger or smaller points without redoing the center.
This gives you a tidy, customizable star fast.
Conclusion
Your hook just became a star factory. With tight stitches, clean points, and a little blocking, you’ve got decor, gifts, and cute bragging rights. Keep the template handy, play with yarns, and let your cosmos expand one stitch at a time.