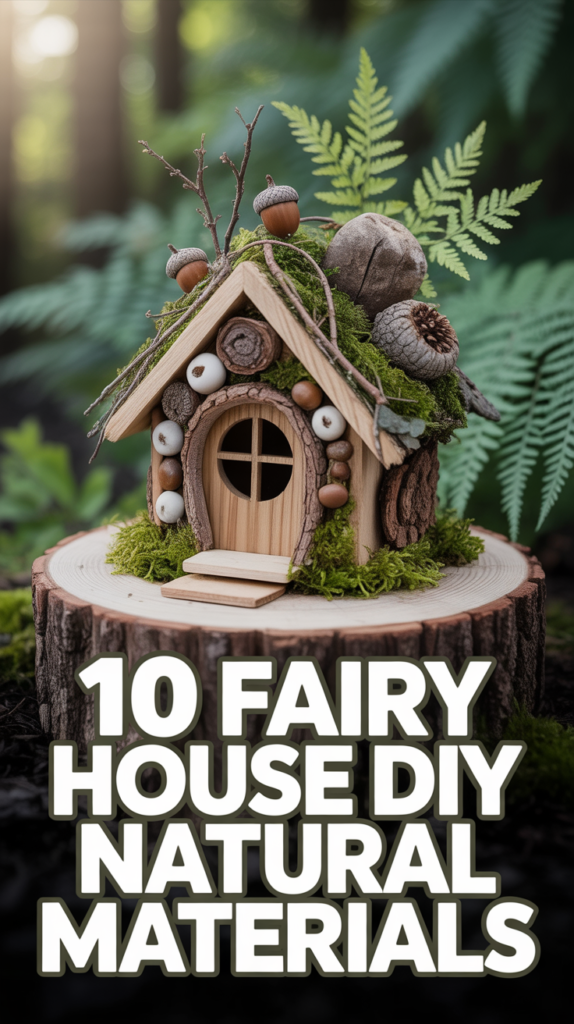
🌿 10 Fairy House DIY Natural Materials
Ready to build a tiny dream home that would make a woodland sprite sign a lease? Grab the sticks, twigs, and that suspiciously perfect pinecone. We’re making fairy houses with stuff you can find on a stroll. No glue gun burns required. Probably.
1. Twig Frame Cottage
Classic, sturdy, and cute enough to make squirrels jealous. Use straight twigs as you would lumber and stack them Lincoln-log style.
- Build a rectangle base with thicker sticks.
- Stack shorter twigs for walls, secure with twine or natural cord.
- Leave a small doorway for instant charm.
Pro tip: Pre-score notches with a pocket knife so twigs interlock and don’t shift. It looks intentional. It is.
Why it works: The twig texture screams woodland cottage without trying too hard.
2. Bark-Slab Walls
Turn loose tree bark into rustic panels. It’s basically prefab siding, but forest-core.
- Collect fallen bark only—no peeling living trees.
- Glue bark to a twig frame for flat, weathered walls.
- Mix bark tones for depth.
Pro tip: Warm bark in the sun before using; it flattens and bonds better.
Why it works: Bark gives instant character and hides messy seams.
3. Moss Roof Cottage
Soft, lush, and so cute it hurts. A moss roof looks like a tiny green shag rug from a fairy catalog.
- Create a simple slanted roof from thin bark or cardboard.
- Layer moss on top and tie with jute twine.
- Mist lightly to keep it vibrant.
Pro tip: Use sheet moss for coverage and cushion with foraged leaf litter underneath.
Why it works: The texture brings big fairytale energy with minimal effort.
4. Pebble Path and Patio
Fairies need curb appeal too. Lay a pebble path and a tiny patio so visitors don’t track in mud. Rude.
- Level a patch of soil.
- Arrange small pebbles in tight clusters or patterns.
- Edge with acorn caps for detail.
Pro tip: Press pebbles into a thin bed of damp sand to lock them in place.
Why it works: Defined pathways make the whole scene look intentional and cozy.
5. Pinecone Shingle Roof
Use pinecone scales as shingles because nature invented cuteness first. Layer them like fish scales.
- Pop off scales carefully with pliers.
- Glue in overlapping rows on a slanted roof.
- Finish with a twig ridge cap.
Pro tip: Bake cones at low heat to dry them—scales detach easier and resist mold.
Why it works: The pattern reads “architect” without a degree.
6. Acorn Cap Lanterns
Tiny lights, huge vibes. Use acorn caps as mini lantern shades for a warm glow.
- Thread caps onto a micro fairy light string.
- Anchor onto porch beams with twine.
- Optional: dab natural dye for color.
Pro tip: Poke a tiny hole in the cap first—less cracking, more sparkle.
Why it works: Ambient lighting makes your fairy house feel lived-in and magical.
7. Leaf-Shingle A-Frame
Channel woodland elf architect. Overlap dried leaves for a dramatic A-frame roof.
- Press leaves between books for a day to flatten.
- Attach from bottom to top for proper shingling.
- Mix leaf sizes for texture.
Pro tip: Brush on a thin layer of homemade starch to strengthen delicate leaves.
Why it works: Lightweight, sustainable, and gorgeous in sunlight.
8. Shell and Seed Window Accents
Windows deserve bling. Frame them with seashells and seed pods for whimsical detail.
- Create a twig square for the window frame.
- Line edges with tiny shells and dried seeds.
- Add a mica or pressed-flower “pane.”
Pro tip: Use clear tree resin or non-toxic glue to set mica for a glassy look.
Why it works: The contrast of smooth shells and rustic wood makes the house pop.
9. Log Slice Furniture
Fairies need seating too—tiny but stylish. Use branch slices for stools, tables, and steps.
- Cut thin rounds from fallen branches.
- Sand edges lightly for a clean finish.
- Stack two slices for a “coffee table.” Fancy.
Pro tip: Rub with beeswax for a soft sheen that repels moisture.
Why it works: Chunky shapes add scale and make the interior feel complete.
10. Clay and Stone Chimney
A chimney says “yes, there’s fairy tea.” Build one with air-dry clay and pebbles.
- Form a slim clay column against the wall.
- Press pebbles in for a cobbled look.
- Top with a tiny bark hood as a cap.
Pro tip: Poke a narrow hole through the clay before it dries—instant “smoke” vent for incense wisps.
Why it works: Adds height and storybook charm without overpowering the design.
Conclusion
There you go—ten tiny ways to turn twigs and treasure into a fairy-approved address. Keep it simple, keep it natural, and let texture do the heavy lifting. The best part You can build, tweak, and expand as you forage more goodies. Now go outside and make the smallest neighborhood with the biggest personality.