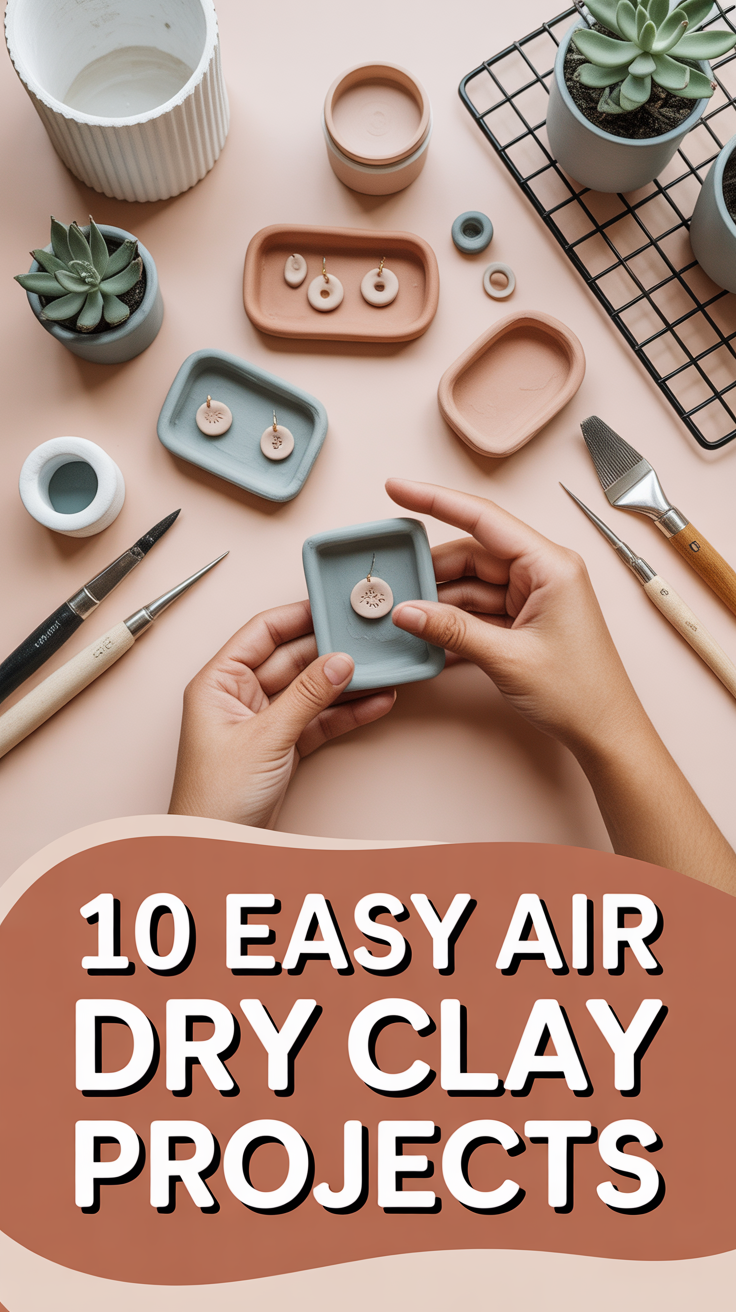
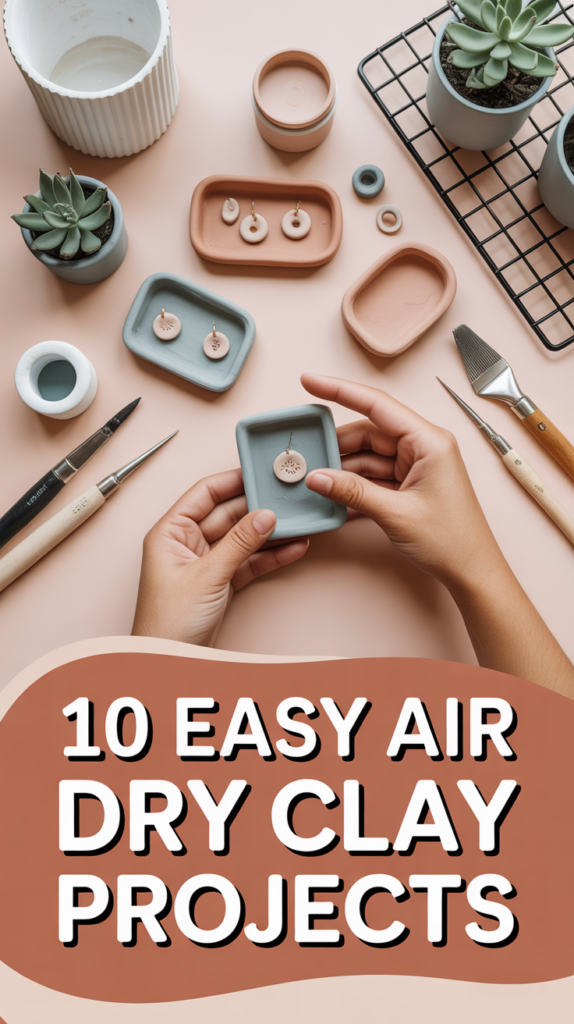
🎨 10 Easy Air Dry Clay Projects
Got clay and zero patience for firing? Same. Air dry clay is the chill friend who shows up, looks cute, and requires almost no work. Let’s whip up pieces that look boutique-level without the kiln drama or a craft degree.
1. Trinket Dishes
Little catch-alls that save your rings from the sink abyss. Roll a ball, flatten into a circle, and pinch the edges for a wavy rim.
Why it rocks: Fast to make, dries sturdy, and looks chic with a simple paint job.
Pro tip: Smooth with a damp finger, then sand lightly after drying for a porcelain vibe.
These dishes keep counters tidy and your style minimal-cute.
2. Minimalist Bud Vases
Think sculptural, not complicated. Wrap clay around a small glass tube or dried-out marker casing.
Why it rocks: The insert keeps it waterproof, and the clay gives it that matte, gallery feel.
Pro tip: Add subtle grooves with a butter knife for texture and shadow play.
They turn a single stem into a whole moment.
3. Incense Holders
Tiny, zen, and your room suddenly smells like a spa you can afford. Shape a pebble and poke a small angle hole.
Why it rocks: Uses scraps, super quick, and you can make a set in one sitting.
Pro tip: Angle the hole slightly so ash falls on a dish—future you will thank you.
Calm vibes with zero clutter.
4. Textured Coasters
Goodbye coffee rings, hello pattern party. Roll clay and press lace, leaves, or a mesh bag to imprint texture.
Why it rocks: Looks expensive, costs less than a latte, and protects your surfaces.
Pro tip: Seal with a waterproof varnish to handle condensation like a champ.
They’re functional art for your table.
5. Statement Earrings
Bold shapes, feather-light. Cut abstract forms, add jump rings, and finish with earring posts.
Why it rocks: Custom colors, endless combos, and comfy to wear all day.
Pro tip: Bake-free means no shrinkage—so pierce hardware holes slightly larger before drying.
You’ll get compliments and pretend you “just threw them together.”
6. Keychains and Bag Charms
Give your keys personality that isn’t just crumbs. Roll mini beads or shape initials and add a key ring.
Why it rocks: Durable, giftable, and a great beginner win.
Pro tip: Marble two clay colors for a luxe swirl without the fancy tools.
Practical, cute, and hard to lose at the bottom of the bag.
7. Phone Stand
Hands-free scrolling without the stack-of-books engineering. Form a small wedge with a front notch.
Why it rocks: Minimal design, stable base, and perfect for video calls or recipes.
Pro tip: Test the angle with your phone while clay is soft—aim for around 60 degrees.
It’s the tiny desk upgrade you didn’t know you needed.
8. Candle Holders
From taper to tea lights, sculpt bases that look custom. Keep walls thick and holes snug for safety.
Why it rocks: Matches your decor and avoids the mass-produced vibe.
Pro tip: Line the candle socket with a thin foil layer to prevent wax bonding.
Instant ambiance with artisan energy.
9. Mini Planter Feet
Lift your plant pots for drainage and drama. Make three or four little feet—balls, arches, or squiggles.
Why it rocks: Better airflow, no trapped water, and a dash of personality.
Pro tip: Measure foot height so all pieces match and your pot doesn’t wobble.
Plants look happier and your shelf stays dry. Win-win.
10. Name Place Cards
Party detail that screams effort without requiring it. Roll small plaques and stamp names before drying.
Why it rocks: Reusable, customizable, and doubles as a favor.
Pro tip: Brush edges with metallic paint for a subtle glow-up.
They make any dinner feel thoughtfully curated, not chaotic.
- Materials to keep nearby: air dry clay, craft knife, sandpaper, straw/skewer, paint, sealer, key rings, earring hardware, small tubes for vases.
- Drying basics: Thin pieces dry faster; rotate for even airflow and avoid direct sun to prevent cracks.
- Finishes: Acrylic paint, matte or satin varnish, or clear wax for a soft sheen.
Conclusion
Air dry clay is the low-commitment craft that still delivers high-chemistry results. You get stylish, useful pieces with nothing more than your hands and a little patience. Start small, make a mess, then act surprised when everything looks boutique-level. Your shelves are about to glow up.