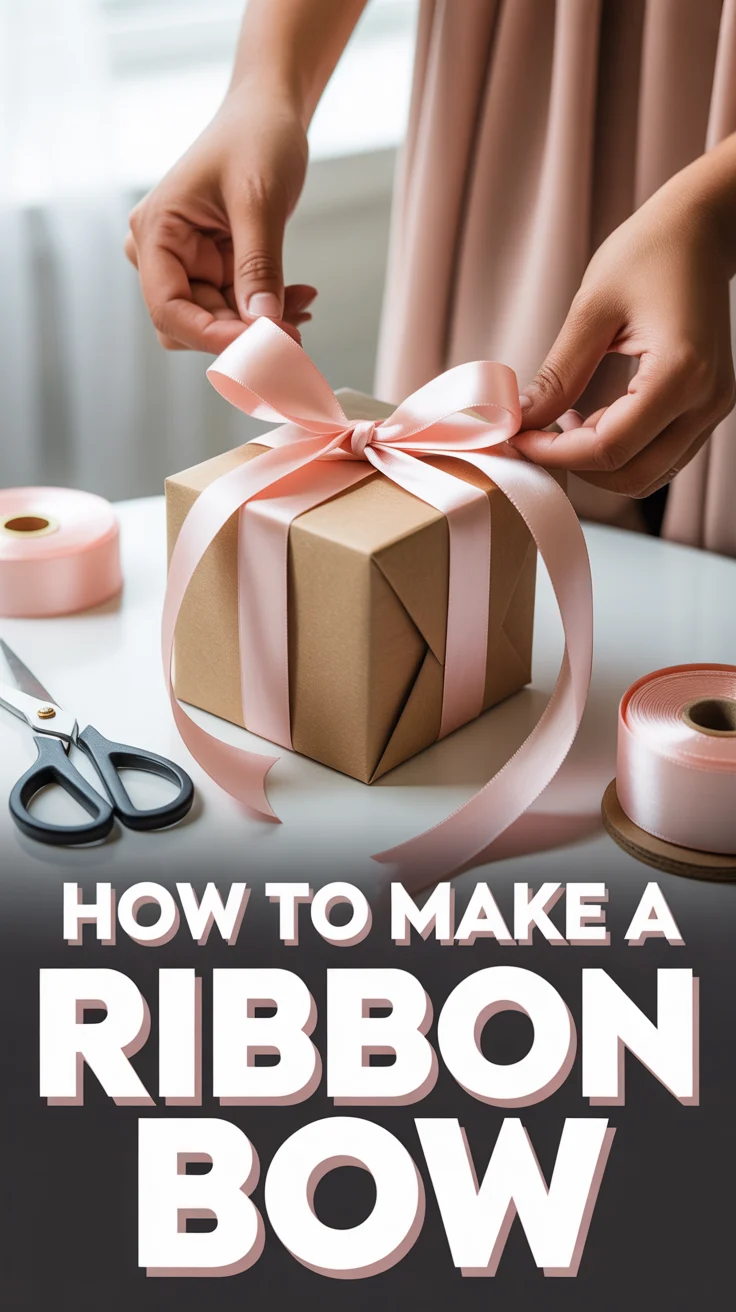
🎀 How To Make A Ribbon Bow
🛠️ The Ultimate Maker's Toolkit
I've tested thousands of craft tools over the years. Whether you are quilting, crafting, or building mixed-media art, these are the top 5 absolute non-negotiable tools I personally recommend to guarantee professional results.
🪡 SINGER Heavy Duty 4452 Sewing Machine
The sewing community highly recommends this as the ultimate "bulletproof" entry-level machine. Its heavy metal frame powerfully pushes through thick denim and heavy quilt layers that would instantly jam a standard plastic machine.
✂️ Fiskars 8" Orange-Handled Scissors
Never settle for dull dollar-store blades. Wirecutter repeatedly names Fiskars the absolute best all-purpose craft scissor due to its legendary precision-ground blades and an ergonomic grip that prevents hand-cramping.
🔥 Gorilla Dual Temp Hot Glue Gun
Named Wirecutter's top choice because it literally does the work of two tools. It features dual-temperature settings offering low heat for delicate florals and blistering high heat for heavy wood adhesion repairs.
🖌️ Mod Podge Waterbase Gloss Sealer
The absolute undisputed champion of decoupage and paper crafts. Experts rely exclusively on this exact water-based formula because it glues, seals, and finishes beautifully without yellowing or flaking over time.
🎨 Apple Barrel Acrylic Paint (2 oz)
The quintessential, incredibly inexpensive craft paint. Woodworkers and hobby painters swear by its smooth flow and matte finish, providing massive value and remarkably thick color coverage on rough surfaces.
Got ribbon and two minutes? Perfect. We’re about to turn that strip of fabric into tiny happiness you can tie on gifts, hair, pets, plants—whatever sits still. No fancy tools, just your hands and a sprinkle of patience.
We’ll walk through simple bows to showstoppers. Pick your favorite, then pretend you always knew how to do this.
1. Classic Loop Bow
Simple, elegant, and zero drama. This is the bow you picture on a perfect gift box.
Form two loops like bunny ears, cross one over the other, and pull through. Adjust the loops and tails until they’re even. Use wired ribbon for structure, satin for sleek vibes.
Pro tip: Pinch the center tight with your fingers before tightening the knot—less twisting, more control.
It works because symmetry + texture = instant polish.
2. Tuxedo Bow
Clean lines, sharp look, zero fluff. It’s giving minimal chic.
Fold ribbon into a flat loop, overlapping ends in the middle. Pinch the center and wrap with a thin ribbon to cinch. Choose grosgrain for crisp edges.
Pro tip: Use double-sided tape to hold the overlap while you wrap—no third hand required.
It works because the flat silhouette looks intentional and luxe.
3. Double Loop Bow
Twice the loops, twice the drama. Still easy.
Create two loops on each side before knotting the center. Fluff layers separately to build volume. Wired ribbon helps loops hold their shape.
Pro tip: Cut tails longer than you think, then trim at the end for perfect proportions.
It works because layered dimension looks pro without extra effort.
4. Tailored Bow With Notched Ends
Sleek bow, fancy tails. The ends do the flirting.
Tie a classic bow, then fold each tail lengthwise and snip a V-notch from the fold to the edge. Seal edges with a lighter (for synthetics) to prevent fray.
Pro tip: Match tail length to package width for balance—about 1.5x the box width looks right.
It works because clean tails make even simple bows look custom.
5. Pom Pom Bow
Maximum fluff, minimum stress. It screams celebration.
Wrap ribbon around your hand 10–14 times, slide off, tie the center tight, then snip the loops on both sides. Fluff like you mean it. Use organza or thin satin for bounce.
Pro tip: Rotate while fluffing to avoid bald spots. Yes, bows can have bad angles.
It works because volume + light fabric = cloud-like cuteness.
6. Dior Bow
Understated couture energy. It’s tidy and photogenic.
Make two flat loops (no knot), stack them, and wrap the center with a narrow ribbon. Secure with hot glue at the back. Use double-faced satin for a smooth finish.
Pro tip: Keep loops slightly wider than the center wrap for a balanced silhouette.
It works because the seamless center looks professional.
7. Multi-Loop Gift Bow
That big, fancy bow on department store boxes? This is it.
Make 4–6 loops per side, gradually increasing size outward. Pinch and secure the center with florist wire, then cover with a small ribbon wrap. Wired ribbon or stiff satin works best.
Pro tip: Alternate loop angles slightly to create fullness without gaps.
It works because layered structure builds depth and balance.
8. Fork Mini Bow
Tiny bow, massive charm. Great for cards and hair clips.
Wrap narrow ribbon around the tines of a fork, thread a small piece through the center, and knot tightly. Slide off and trim tails. 3–6 mm ribbon is ideal.
Pro tip: Use a comb for wider minis if the fork feels too small.
It works because the fork spaces the loops evenly—no guesswork.
9. Layered Ribbon Bow
Mix textures for a designer look. It’s giving “custom boutique.”
Stack two ribbons of different widths, align centers, and tie as one. Fluff so each layer peeks out. Grosgrain + satin is a winning combo.
Pro tip: Secure layers with a dot of glue at the tails so they don’t slide.
It works because contrast adds visual interest instantly.
10. Florist Bow With Tails
Big, loopy, and romantic. Perfect for bouquets and wreaths.
Create continuous loops without cutting, pinching the center as you go. Add long trailing tails, then secure with wire. Use wide wired ribbon for shape.
Pro tip: Twist the ribbon at the back of each loop so the right side always faces out.
It works because continuous looping gives airy volume.
11. Shoestring Bow
Casual and cute. Think sneakers, jars, and napkin ties.
Tie like you would a shoelace: cross, loop, swoop, pull. Keep loops small for a neat finish. Cotton or twill tape nails the vibe.
Pro tip: Pull the tails down while tightening to keep the bow centered.
It works because muscle memory makes it foolproof.
12. Asymmetrical Statement Bow
Off-center and proud. Artsy but intentional.
Make one loop larger than the other, and leave one tail longer. Tie slightly off-center on your item. Velvet ribbon adds drama.
Pro tip: Angle the longer tail diagonally for movement and flair.
It works because asymmetry draws the eye—hello, focal point.
13. Triple Center-Knot Bow
Chunky center, plush look. It’s subtle but luxe.
Tie a classic bow, then wrap the center 2–3 extra times with a narrow ribbon and secure at the back. Fluff loops to balance thickness. Use matching or metallic wrap.
Pro tip: Keep the center wraps snug to avoid wobble.
It works because the bold center reads high-end.
14. Ribbon Rosette Bow
Looks like a flower, ties like a boss. Cute for pins and headbands.
Make a long strip of loops in a figure-eight motion, then roll into a spiral, securing with glue as you go. Add two ribbon tails behind. Organza or satin gives petal vibes.
Pro tip: Vary loop sizes slightly for a natural bloom effect.
It works because layered spirals mimic petals beautifully.
15. No-Knot Tape Bow
Clean front, no bulky knot. Great for flat packages and envelopes.
Form two loops, overlap centers, and secure from the back with double-sided tape or glue. Add tails separately underneath. Perfect for photos—nothing sticks out.
Pro tip: Press with a book for a few minutes to set the shape.
It works because the hidden hold keeps everything sleek.
✨ New Member Etsy Shops (100% Unsponsored!)
We are incredibly proud of the talent in this community! 💖 We've rounded up some gorgeous new Etsy shops launched by our very own members.
There are ZERO affiliate links in this post—just 100% pure support for our makers. Click below to shop small, show them some love, and find your new favorite items! 👇🛍️


Conclusion
There you go—15 ways to turn ribbon into tiny moments of wow. Grab a roll, pick your mood, and tie something lovely.
The right bow makes any gift, bouquet, or ponytail look intentional. Small effort, big upgrade—your future self will absolutely take the credit.