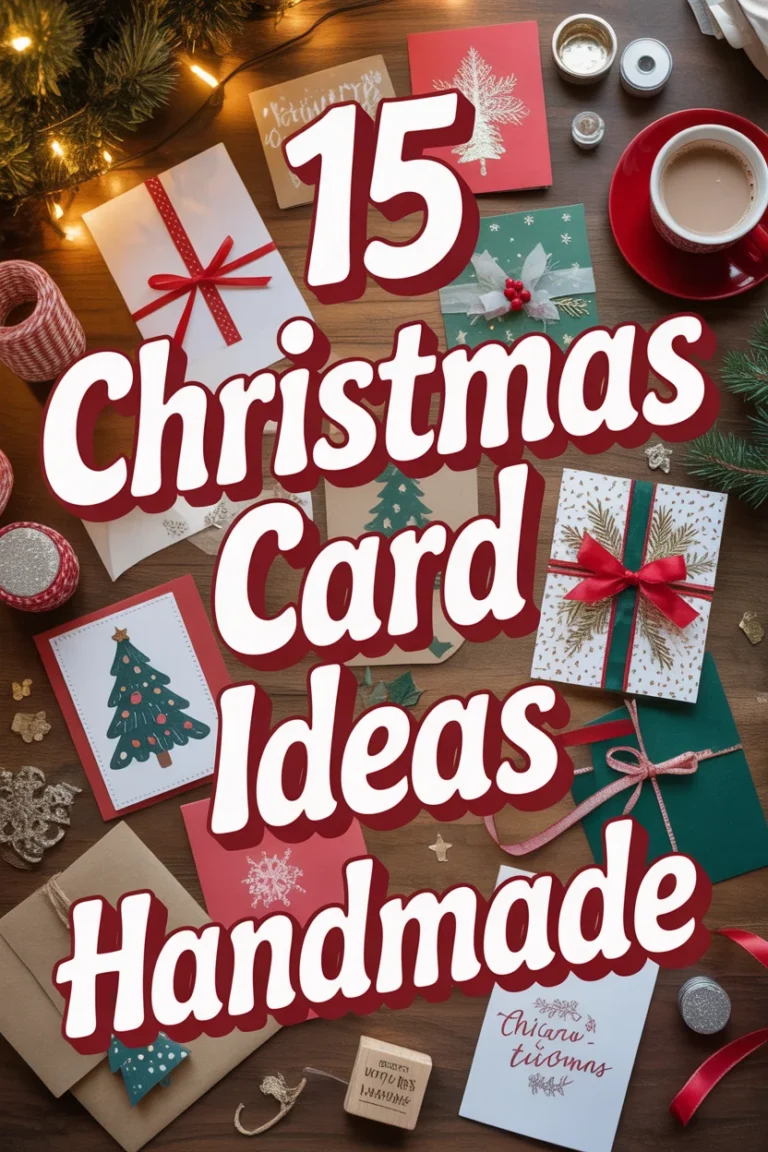
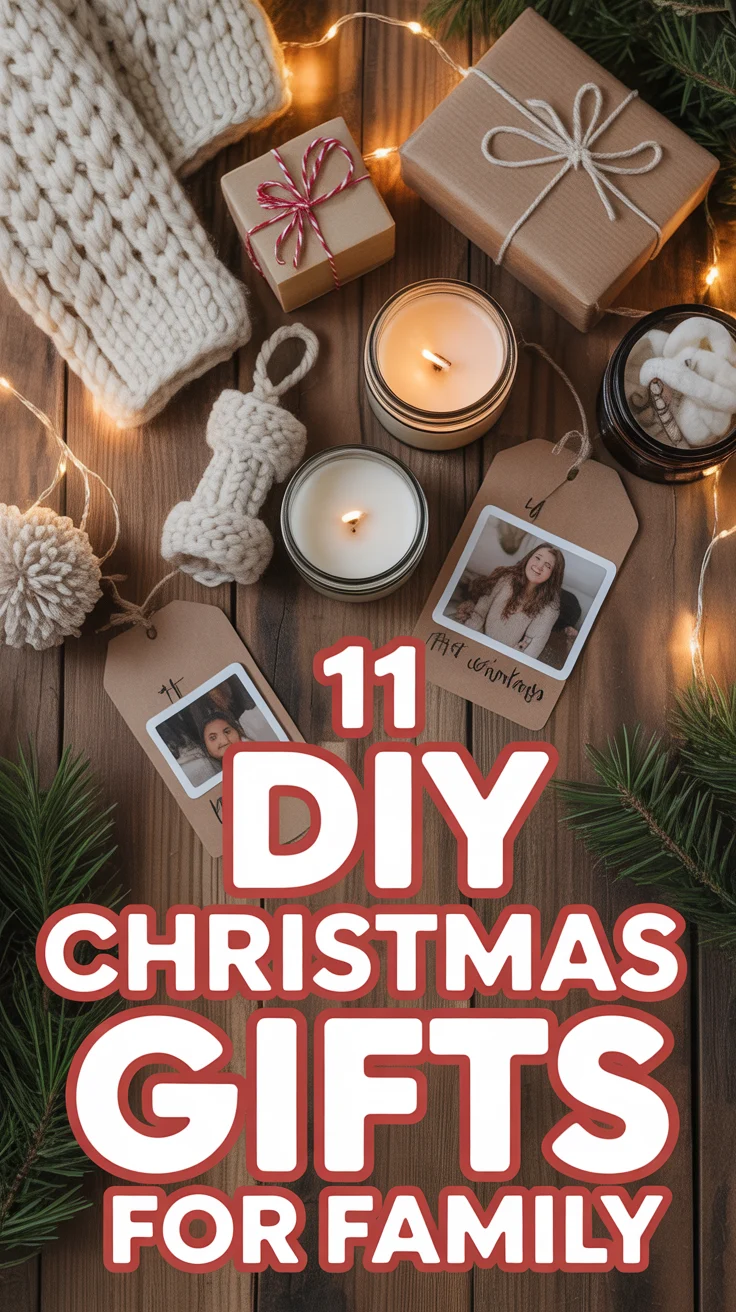
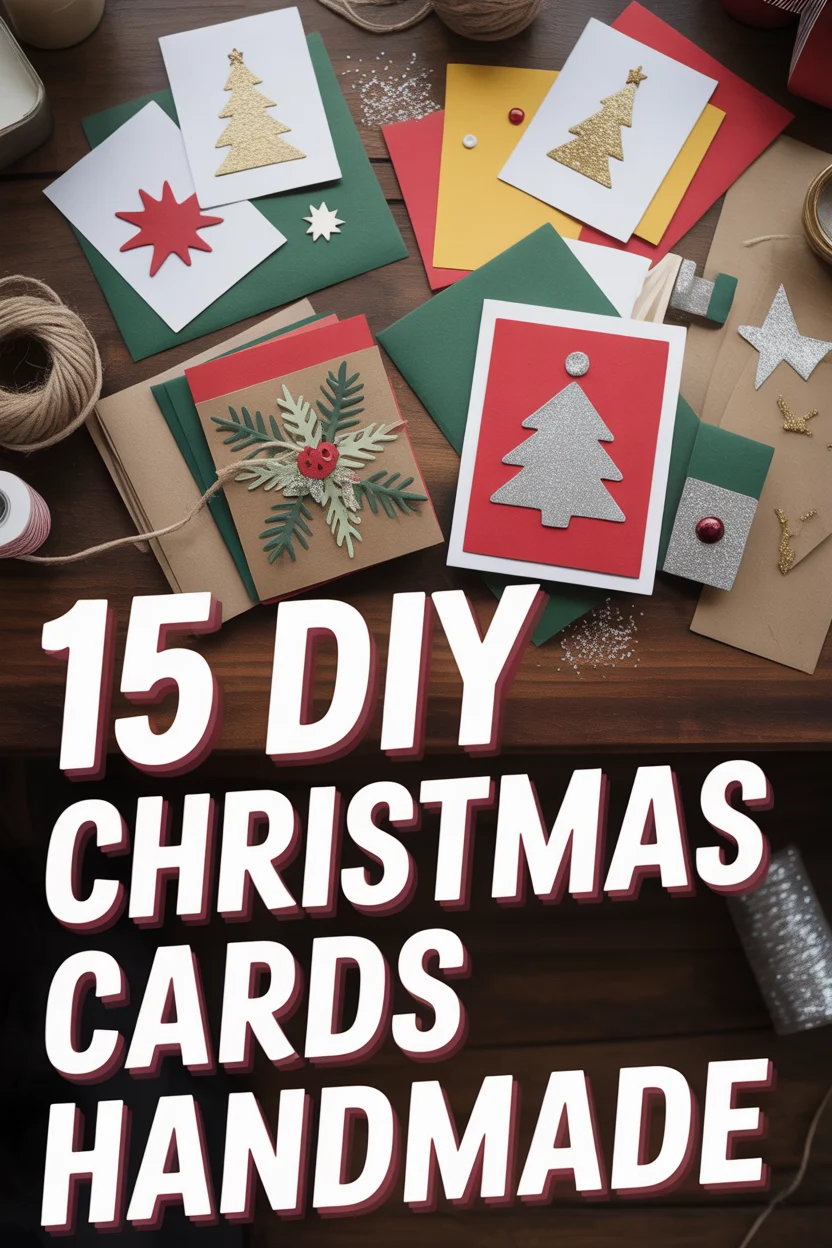
🎨 15 DIY Christmas Cards Handmade
🛠️ The Ultimate Maker's Toolkit
I've tested thousands of craft tools over the years. Whether you are quilting, crafting, or building mixed-media art, these are the top 5 absolute non-negotiable tools I personally recommend to guarantee professional results.
🪡 SINGER Heavy Duty 4452 Sewing Machine
The sewing community highly recommends this as the ultimate "bulletproof" entry-level machine. Its heavy metal frame powerfully pushes through thick denim and heavy quilt layers that would instantly jam a standard plastic machine.
✂️ Fiskars 8" Orange-Handled Scissors
Never settle for dull dollar-store blades. Wirecutter repeatedly names Fiskars the absolute best all-purpose craft scissor due to its legendary precision-ground blades and an ergonomic grip that prevents hand-cramping.
🔥 Gorilla Dual Temp Hot Glue Gun
Named Wirecutter's top choice because it literally does the work of two tools. It features dual-temperature settings offering low heat for delicate florals and blistering high heat for heavy wood adhesion repairs.
🖌️ Mod Podge Waterbase Gloss Sealer
The absolute undisputed champion of decoupage and paper crafts. Experts rely exclusively on this exact water-based formula because it glues, seals, and finishes beautifully without yellowing or flaking over time.
🎨 Apple Barrel Acrylic Paint (2 oz)
The quintessential, incredibly inexpensive craft paint. Woodworkers and hobby painters swear by its smooth flow and matte finish, providing massive value and remarkably thick color coverage on rough surfaces.
Let’s be real for a second. Buying a generic box of cards from the grocery store is the ultimate “I forgot you existed until today” move. If you want to actually impress your inner circle without spending forty dollars on a single piece of cardstock, you need to get your hands messy. These ideas range from “I have an art degree” to “I found a potato in the pantry,” so there is zero excuse for being boring this season. Grab a drink and let’s get crafting.
1. Washi Tape Trees
Stop hoarding those rolls of tape and actually put them to work. You just stick strips of patterned washi tape in decreasing lengths to form a minimalist triangle on the front of your card.
Try to use different patterns that don’t clash like a bad holiday sweater. A gold star sticker on top makes it look like a tree and not just a weird colorful ladder. It is fast, cheap, and looks like you actually have your life together.
2. Fingerprint Reindeer
This is the perfect way to prove you have a pulse while keeping things incredibly simple. Dip your thumb in brown acrylic paint and press it firmly onto the cardstock to create the head.
Wait for the paint to dry completely before you grab a fine-liner pen to draw on the antlers and eyes. If you do it while it’s wet, you will end up with a blurry brown blob that looks nothing like Rudolph. It is cute, personal, and slightly chaotic.
3. Minimalist Watercolor
Channel your inner Picasso without the confusing geometric shapes. Swipe a single green watercolor stroke for a tree or a few red dots for berries.
You must use thick watercolor paper or your card will curl up and die the moment it touches moisture. Keep the white space around your art to make it look intentional and expensive. It screams sophistication even if you are eating cold pizza while making it.
4. Button Ornaments
Finally, you have a use for that jar of random buttons your mom gave you five years ago. Glue colorful vintage buttons to the front of the card to act as hanging ornaments.
Draw a thin black line from the top of the card to the button so it looks like it’s hanging. Use hot glue because a regular glue stick will give up on life the moment you put the card in an envelope. This adds a 3D vibe that makes people think you are a crafting genius.
5. Dried Citrus Slices
Your kitchen is about to smell like a high-end spa. Slice up some oranges, dry them in the oven, and glue a dried citrus slice to the center of your card.
Tie a piece of rustic twine around the slice for that “I live in a cabin” aesthetic. Ensure the fruit is 100% dry or you are basically mailing a science experiment of mold to your relatives. It is trendy, organic, and very Pinterest-worthy.
6. Embroidered Cardstock
Stabbing paper with a needle is a great way to release holiday stress. Poke holes in a simple shape like a star and thread metallic embroidery floss through the pattern.
Keep your stitches tight so the thread doesn’t sag like your holiday spirit in a mall parking lot. Use heavy cardstock so the paper doesn’t tear while you are working. The texture is incredible and it feels much more premium than a flat print.
7. Potato Stamp Patterns
Carbohydrates are now officially art supplies. Carve a star or tree shape into the flat side of a potato half and dip it into some thick ink.
Blot the potato on a paper towel before stamping the card to avoid a soggy, blurry mess. You can create a repeating pattern or just one bold statement in the center. It is old-school cool and gives you a legitimate reason to play with your food.
8. Pressed Greenery
Go outside and “borrow” some tiny leaves or sprigs from your neighbor’s bushes. Flatten a small fern or pine sprig inside a heavy book for a few days before gluing it down.
Apply a thin coat of clear matte sealer over the plant so it doesn’t crumble into dust the moment someone touches it. Pair it with some simple cursive for a look that is very “forest floor chic.” It looks like you spent a weekend in nature instead of scrolling on your phone.
9. Confetti Shaker Cards
This is for the friend who doesn’t mind a little sparkle in their carpet. Create a small “window” using clear plastic packaging and fill it with festive sequins or glitter.
Seal the edges with double-sided foam tape to ensure the confetti stays inside the card where it belongs. If you mess up the seal, your friend will be finding glitter in their house for the next three years. It is interactive, loud, and impossible to ignore.
10. Abstract Paint Swipes
Messy is the new perfect, so stop overthinking it. Use a palette knife or a piece of cardboard to smear red and green acrylic paint across the card face.
Limit yourself to two or three colors to avoid creating a muddy brown puddle of regret. Let the textures be thick and uneven for a modern art gallery feel. It looks like you have a very expensive hobby and takes about thirty seconds to finish.
11. Origami Santa
Folding paper is the new meditation, apparently. Follow a quick tutorial to fold red and white square paper into a tiny, flat Santa Claus.
Glue him to the front of a plain card and add a tiny cotton ball for his hat. Use thin origami paper because thick cardstock will fight you every step of the way. It is a card and a tiny gift all in one little package.
12. Chalkboard Style
Embrace your inner moody teenager with this high-contrast look. Use a white paint pen on pitch-black cardstock to mimic a chalkboard menu.
Draw some snowflakes and swirls around your message to fill up the empty space. Practice your lettering on a scrap piece of paper first so you don’t run out of room for the last letter. It looks professional and very “boutique coffee shop.”
13. Pop-Up Paper Forests
Give your card some actual depth so it stands out on the mantel. Cut two small slits in the center fold of the card to create a pop-up tab for a paper tree.
Glue a green paper cutout to the tab so it stands up when the card opens. Measure your cuts carefully or your forest will be lopsided and sad. Everyone loves a surprise when they open an envelope, and this delivers.
14. Vintage Map Cutouts
This is perfect for that one friend who is always at the airport. Cut star or heart shapes out of old maps and glue them to a neutral background.
Use distressed brown ink on the edges of the map pieces to make them look a century old. It is a great way to recycle those paper maps that nobody has used since the invention of GPS. It feels nostalgic and thoughtful without being cheesy.
15. Splatter Paint Snow
Channel your inner Jackson Pollock and make a mess on purpose. Flick white acrylic paint off the bristles of an old toothbrush onto a dark blue card.
Cover your entire workspace with newspaper unless you want a snowy kitchen counter for the rest of the year. The resulting dots look like a perfect winter scene with zero effort. It is the easiest way to get a “dreamy” look without actually knowing how to paint.
✨ New Member Etsy Shops (100% Unsponsored!)
We are incredibly proud of the talent in this community! 💖 We've rounded up some gorgeous new Etsy shops launched by our very own members.
There are ZERO affiliate links in this post—just 100% pure support for our makers. Click below to shop small, show them some love, and find your new favorite items! 👇🛍️


Conclusion
Making your own cards is the ultimate power move because it shows you actually care about the person you are mailing. Whether you are carving potatoes or stabbing cardstock with a needle, the result is always better than a store-bought version. Put down the store-bought box, pick up some glue, and start crafting. Your friends will appreciate the effort, and your wallet will thank you for not spending five dollars on a piece of folded paper.