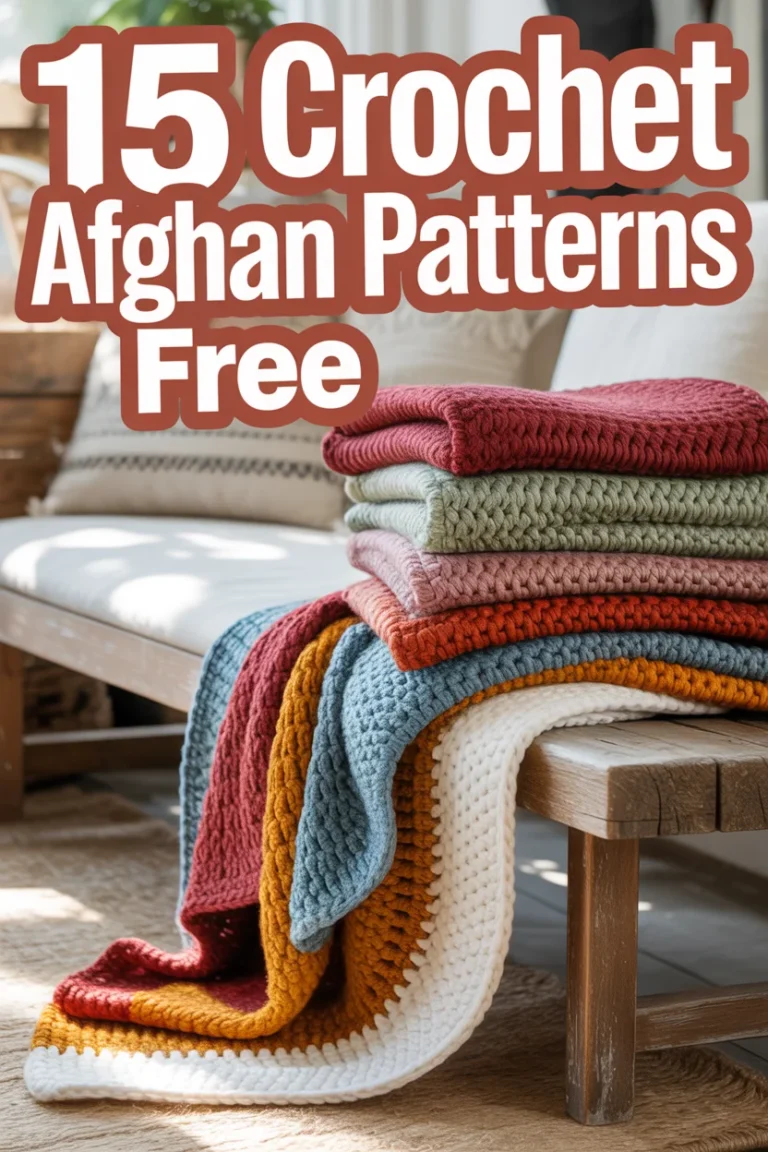
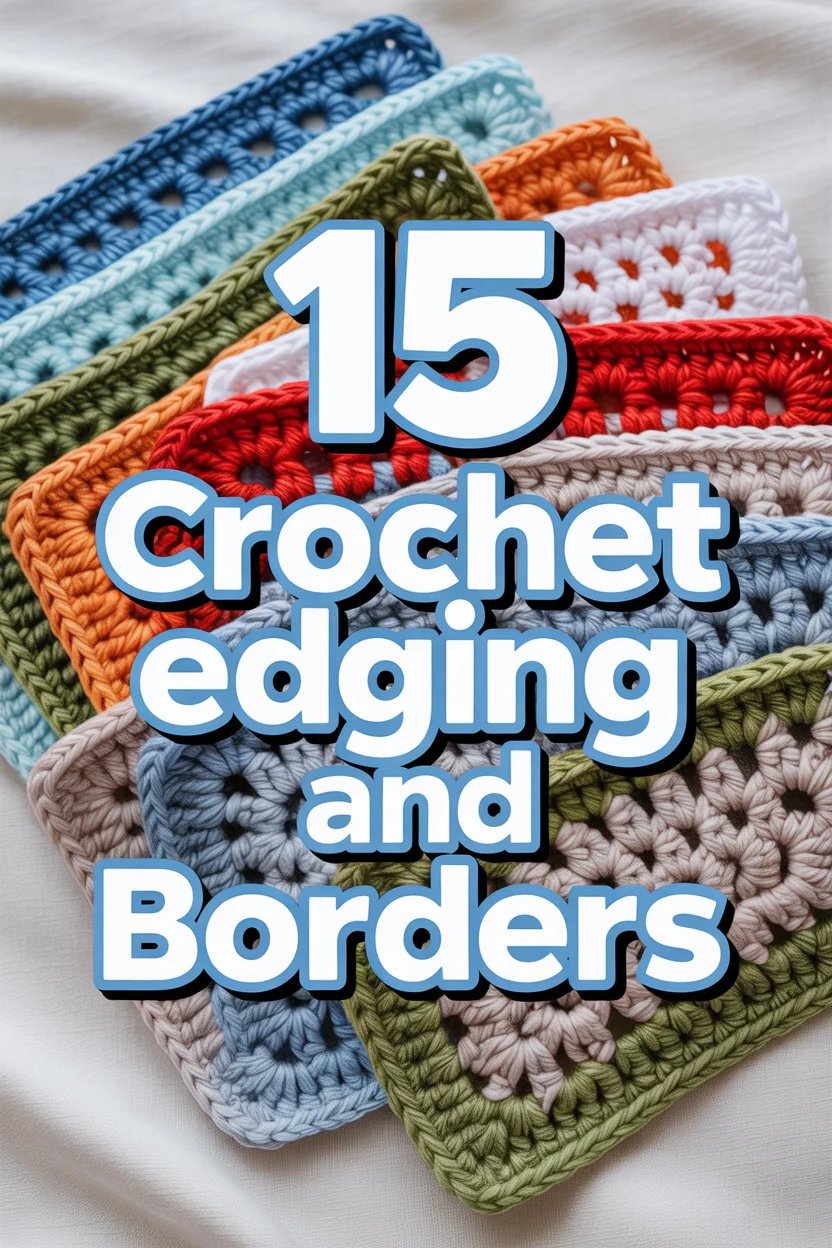
🧶 15 Crochet Edging And Borders
🛠️ The Ultimate Maker's Toolkit
I've tested thousands of craft tools over the years. Whether you are quilting, crafting, or building mixed-media art, these are the top 5 absolute non-negotiable tools I personally recommend to guarantee professional results.
🪡 SINGER Heavy Duty 4452 Sewing Machine
The sewing community highly recommends this as the ultimate "bulletproof" entry-level machine. Its heavy metal frame powerfully pushes through thick denim and heavy quilt layers that would instantly jam a standard plastic machine.
✂️ Fiskars 8" Orange-Handled Scissors
Never settle for dull dollar-store blades. Wirecutter repeatedly names Fiskars the absolute best all-purpose craft scissor due to its legendary precision-ground blades and an ergonomic grip that prevents hand-cramping.
🔥 Gorilla Dual Temp Hot Glue Gun
Named Wirecutter's top choice because it literally does the work of two tools. It features dual-temperature settings offering low heat for delicate florals and blistering high heat for heavy wood adhesion repairs.
🖌️ Mod Podge Waterbase Gloss Sealer
The absolute undisputed champion of decoupage and paper crafts. Experts rely exclusively on this exact water-based formula because it glues, seals, and finishes beautifully without yellowing or flaking over time.
🎨 Apple Barrel Acrylic Paint (2 oz)
The quintessential, incredibly inexpensive craft paint. Woodworkers and hobby painters swear by its smooth flow and matte finish, providing massive value and remarkably thick color coverage on rough surfaces.
So you finally finished that massive blanket and now it just looks a bit… unfinished. We have all been there. You spent weeks on the main body of the work only to realize the edges look like a jagged mountain range. Do not just weave in those ends and call it a day because your hard work deserves a proper frame. A solid border hides a multitude of sins and makes your project look like you actually know what you are doing.
Let’s dive into some ways to level up your yarn game without losing your mind. Whether you want something delicate and lacy or thick and chunky, I have you covered. Grab your favorite ergonomic hook and let’s get to work on these finishes.
1. The Classic Shell
This is the little black dress of the crochet world. It adds a soft, rounded finish to literally any project without trying too hard. You simply cluster several double crochets into one stitch to create that iconic fan shape. Cotton yarn works particularly well here to show off the stitch definition.
- Works on blankets, scarves, and even washcloths.
- Creates a scalloped look that softens sharp corners.
- Hides uneven side stitches like a total pro.
Keep your spacing consistent or your border will start to ripple like a bag of chips. This border remains a staple because it never goes out of style and looks expensive with minimal effort.
2. Picot Point
Tiny points add a bit of drama to an otherwise boring edge. This technique involves chaining a few stitches and slip-stitching back into the base to create a small decorative bump. It looks especially stunning on delicate shawls or lightweight baby items. You can space them out for a subtle look or pack them tight for a serrated vibe.
- Adds a professional, boutique-style finish.
- Uses very little yarn compared to bulkier borders.
- Provides a great grip for button loops if you are feeling fancy.
Use a smaller hook for the border to keep those points crisp and sharp. It turns a simple rectangle into a sophisticated piece of art in just one row.
3. Pom-Pom Trim
We are adding actual 3D texture to your project because you deserve some joy. This border creates small, fluffy spheres that dangle off the edge of your work. It involves working clusters and folding them over themselves to build the “pom” shape. Use a contrasting color to make those little balls of fluff really stand out.
- Perfect for nursery decor and playful throw pillows.
- Provides a fun sensory experience for kids.
- Looks much harder to execute than it actually is.
Do not make the poms too heavy or they will drag your fabric down into a sad sag. It turns any basic project into a literal party that people will want to touch.
4. Reverse Single Crochet
We are going backwards because we can. Also known as the crab stitch, this creates a sturdy, cord-like edge that feels incredibly substantial. You work single crochets from left to right instead of the usual direction. It produces a twisted rope effect that frames a piece perfectly.
- Creates a very durable edge that resists fraying.
- Looks clean and modern on geometric designs.
- Works as a great final row for sweaters and cardigans.
Keep your tension loose or your hand will feel like it is doing a weird yoga pose. This is the ultimate “I am a professional” finish for those who hate lacy fluff.
5. Scalloped Waves
For those times you want to feel like a mermaid. These are like shells but bigger and bolder with a more dramatic rhythmic flow. They create a rolling motion along the sides of your work that looks amazing on large bedspreads. You can even layer them in different colors for a tiered effect.
- Adds significant width to a project that ended up too small.
- Flows beautifully around corners without bunching up.
- Gives a romantic, vintage feel to modern yarn.
Map out your stitches before you start so you do not end up with half a wave at the corner. It softens the harshest of geometric patterns and adds a touch of whimsy.
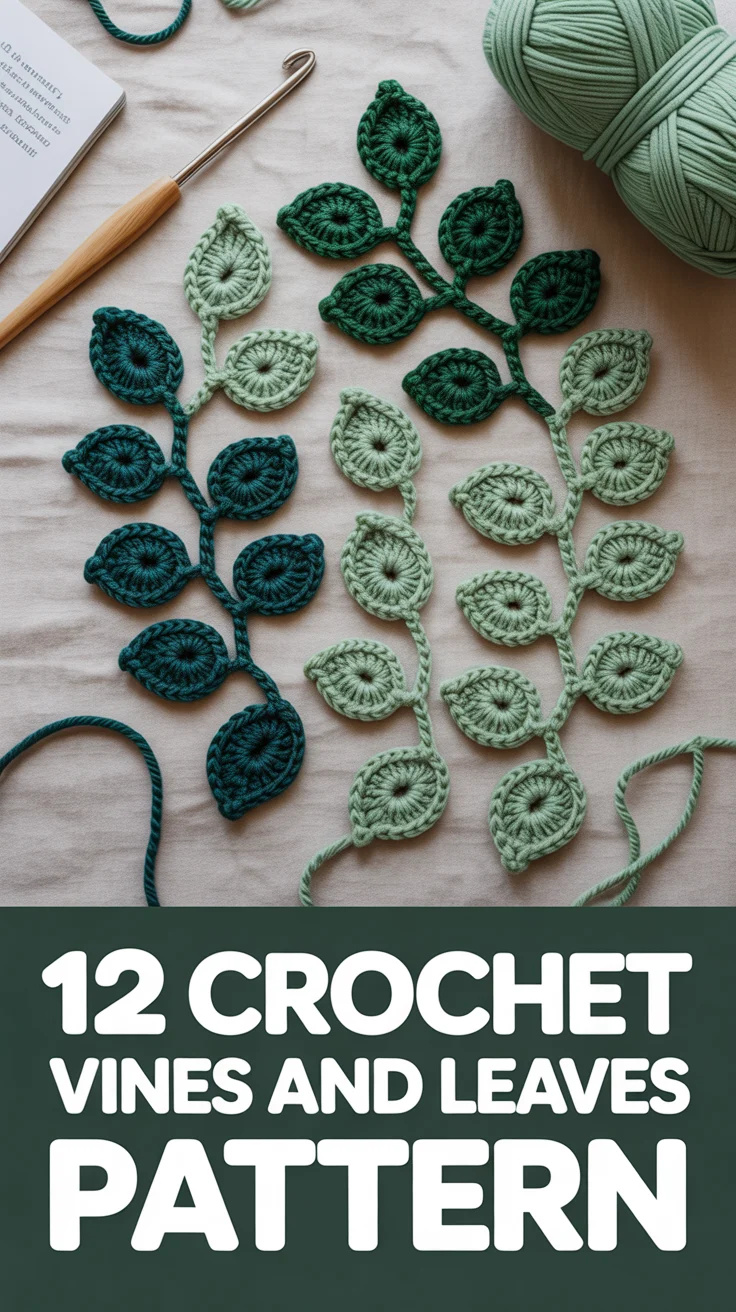
6. Leafy Vine
Nature called and it wants its border back. This involves creating small leaf shapes that sprout from a central chain along the edge. It looks incredible on floral-themed throws or anything intended for a garden room. Using a variegated green yarn gives it an organic, living look.
- Ideal for spring-themed projects and outdoor wraps.
- Adds a unique, handmade charm that stands out.
- Works well as a standalone decorative garland too.
- Pairs perfectly with flower motifs.
Pay close attention to your stitch counts to ensure your leaves do not start drooping. It brings a fresh, botanical vibe to your living room without the need for a green thumb.
7. Bobble Border
Chunky is a lifestyle choice. These little pops of texture are fun to touch and look great on chunky knit-look blankets. You work several half-finished stitches together to create a bold tactile bump. They look like rows of tiny pearls or berries lining your work.
- Adds weight to the bottom of garments so they hang better.
- Provides a modern, trendy aesthetic for home decor.
- Hides mistakes in the final row of your main project.
Turn your work to push the bobbles toward the right side for maximum visual impact. It makes any blanket feel ten times cozier and provides a great fidget for restless hands.
8. Blanket Stitch
This is the minimalist’s dream come true. It mimics the classic sewing stitch used on fleece blankets but with a crochet twist. It is low-profile and keeps the focus entirely on your main pattern. It is basically a series of spikes that reach down into the previous rows.
- Uses minimal yarn while providing a secure frame.
- Great for masculine projects that need a simple finish.
- Reinforces the edges of high-use items like pet blankets.
Try a bold, contrasting color to make the simple lines pop against a neutral base. It provides a clean, architectural frame without adding unnecessary bulk.
9. Triangle Peak
For those who prefer sharp angles over curves. This creates a geometric zigzag that looks modern, fresh, and slightly edgy. It is basically a series of small increases and decreases that form sharp triangular points. It looks fantastic on tech sleeves or modern wall hangings.
- Pairs well with striped patterns and chevron designs.
- Gives a tribal or southwestern vibe to your decor.
- Creates a very defined silhouette for the finished piece.
Block your finished piece with steam to make those points look absolutely lethal. It adds a contemporary edge to traditional blankets that might otherwise feel a bit dated.
10. Ruffle Edge
More is more and less is a bore. You create this by cramming way too many stitches into every single hole until the fabric gives up and starts to wave. It is unapologetically extra and adds a ton of movement to garments. Use a lightweight yarn to keep the ruffles from becoming a heavy mess.
- Transforms a basic shawl into a dramatic fashion statement.
- Perfect for the bottom of skirts or sleeves.
- Adds a feminine, Victorian touch to your work.
Prepare for this to eat your yarn like a hungry teenager because those extra stitches add up fast. It is a bold choice that ensures your project will be the center of attention.
11. Trellis Lace
Let some air into that project. This creates a grid-like mesh that looks like a garden fence or a delicate net. It is light, airy, and perfect for summer shawls or lightweight curtains. You are mostly working with chains and single crochets to build the structure.
- Adds length to a project without adding significant weight.
- Drapes beautifully over shoulders or furniture.
- Allows the base color to peek through the border.
Count your chains carefully or your trellis will look like a broken screen door. It provides a sophisticated, breezy finish that feels high-end and complicated.
12. Block Stitch
These are the building blocks of a solid border. This creates solid squares of color that look like tiny bricks or a mosaic frame. It is very sturdy and gives the project a structured feel. It works best when you use two alternating colors to highlight the “block” effect.
- Provides a very straight and even edge for sewing pieces together.
- Looks great on sports-themed blankets in team colors.
- Adds a graphic, bold element to simple stitch patterns.
Change colors every row to make the border look like a stained-glass window. It gives the project a solid structure that prevents the edges from curling over time.
13. Puff Stitch Frame
Think of these as soft clouds for your hard work. Puff stitches are similar to bobbles but softer, squishier, and more rounded. They create a luxurious feel along the perimeter of a baby blanket. They trap air and make the edges feel incredibly padded and warm.
- Adds a high-end, boutique look to simple gift items.
- Feels amazing against the skin on scarves or cowls.
- Creates a thick border that holds its shape well.
Pull your loops up high and keep them even to ensure the puff actually puffs. It makes any project feel premium and provides a soft landing for any edge.
14. Candy Cane Twist
Two colors are better than one. You alternate two different yarns by dropping one and picking up the other to create a spiral effect. It looks like a holiday treat but works year-round if you pick the right colors. It is a great way to tie together all the colors used in a scrap-yarn project.
- Creates a visually interesting, multi-colored rope effect.
- Does not require any complex stitches to look impressive.
- Works perfectly for holiday-themed decor and gifts.
Do not let your two balls of yarn get tangled or you will regret every life choice you have ever made. It adds a playful, energetic pop of color contrast that catches the eye.
15. Crown Peak
Treat your project like royalty. This is a complex mix of tall stitches, clusters, and picots that look like a row of tiny tiaras sitting on your edge. It is the ultimate flex for a skilled crocheter and takes a bit of focus to get right. Save this for your absolute masterpiece.
- The most decorative and ornate option on this list.
- Perfect for heirloom items and wedding gifts.
- Adds a regal, finished look to any flat project.
Take your time with the tall stitches to ensure they do not lean or look messy. It is the perfect way to finish a project you spent months on because it screams “I am a pro.”
✨ New Member Etsy Shops (100% Unsponsored!)
We are incredibly proud of the talent in this community! 💖 We've rounded up some gorgeous new Etsy shops launched by our very own members.
There are ZERO affiliate links in this post—just 100% pure support for our makers. Click below to shop small, show them some love, and find your new favorite items! 👇🛍️


Conclusion
Go forth and frame your masterpieces with pride. Your yarn deserves better than a raw, unfinished edge that curls at the sight of a breeze. Whether you go for the cheeky pom-pom or the regal crown, these borders prove that the finish is just as important as the start. Stop leaving your projects naked and give them the stylish perimeter they deserve.