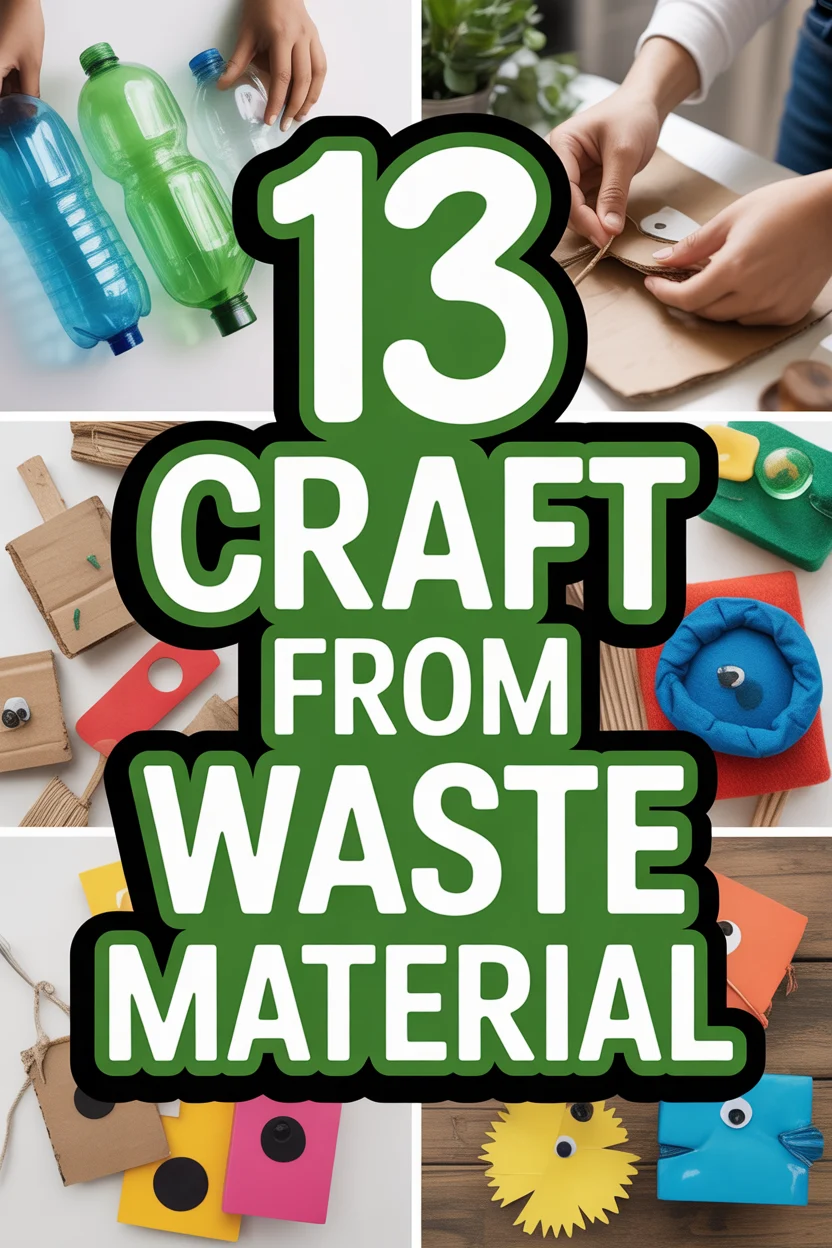
♻️ 13 Craft From Waste Material
🛠️ The Ultimate Maker's Toolkit
I've tested thousands of craft tools over the years. Whether you are quilting, crafting, or building mixed-media art, these are the top 5 absolute non-negotiable tools I personally recommend to guarantee professional results.
🪡 SINGER Heavy Duty 4452 Sewing Machine
The sewing community highly recommends this as the ultimate "bulletproof" entry-level machine. Its heavy metal frame powerfully pushes through thick denim and heavy quilt layers that would instantly jam a standard plastic machine.
✂️ Fiskars 8" Orange-Handled Scissors
Never settle for dull dollar-store blades. Wirecutter repeatedly names Fiskars the absolute best all-purpose craft scissor due to its legendary precision-ground blades and an ergonomic grip that prevents hand-cramping.
🔥 Gorilla Dual Temp Hot Glue Gun
Named Wirecutter's top choice because it literally does the work of two tools. It features dual-temperature settings offering low heat for delicate florals and blistering high heat for heavy wood adhesion repairs.
🖌️ Mod Podge Waterbase Gloss Sealer
The absolute undisputed champion of decoupage and paper crafts. Experts rely exclusively on this exact water-based formula because it glues, seals, and finishes beautifully without yellowing or flaking over time.
🎨 Apple Barrel Acrylic Paint (2 oz)
The quintessential, incredibly inexpensive craft paint. Woodworkers and hobby painters swear by its smooth flow and matte finish, providing massive value and remarkably thick color coverage on rough surfaces.
Alright, trendsetters and eco-warriors, gather ’round! Ever stare at your overflowing recycling bin and think, “There’s a masterpiece waiting to happen in there”? Good, because same. We’re talking about giving those forgotten bits and bobs a glow-up, turning what others toss into something totally brag-worthy. Forget expensive craft store hauls; your trash just became your treasure. Let’s dive into some seriously cool ways to get your craft on without spending a dime.
1. Plastic Bottle Planters
Who needs fancy pots when you have a rogue soda bottle? Snip the top off a plastic bottle, flip it, and you’ve got a self-watering marvel. It’s basically an automatic plant babysitter, which is perfect for us forgetful types.
Grab those 2-liter bottles, give them a good rinse, and get cutting. Paint them, wrap them in twine, or leave them clear for a minimalist vibe. Pro tip: use the bottom half as a water reservoir and the top (inverted) as the planter for a sub-irrigation system. Your succulents will thank you, probably with more succulents.
2. Cardboard Box Forts (or Furniture)
Remember those epic cardboard fort battles from childhood? It’s time for an adulting upgrade. Large delivery boxes are just begging to be more than just shipping vessels.
Think beyond the fort. You can craft surprisingly sturdy storage bins, quirky bookshelves, or even a pet bed for your furry overlord. Pro tip: reinforce edges with hot glue or duct tape for extra durability, then paint or wallpaper for a chic finish. Your cat will approve, or at least pretend to.
3. Glass Jar Luminaries
Empty jam jars or pickle containers are basically tiny, free canvases for ambiance. Why buy overpriced candles when you can DIY your own mood lighting?
Clean those jars thoroughly, then let your creativity run wild. Paint them, wrap them in lace, fill them with fairy lights, or even create a mosaic with broken CDs (more on that later). Pro tip: a little sand at the bottom provides a stable base for tea lights. Instant cozy vibes, no magic wand required.
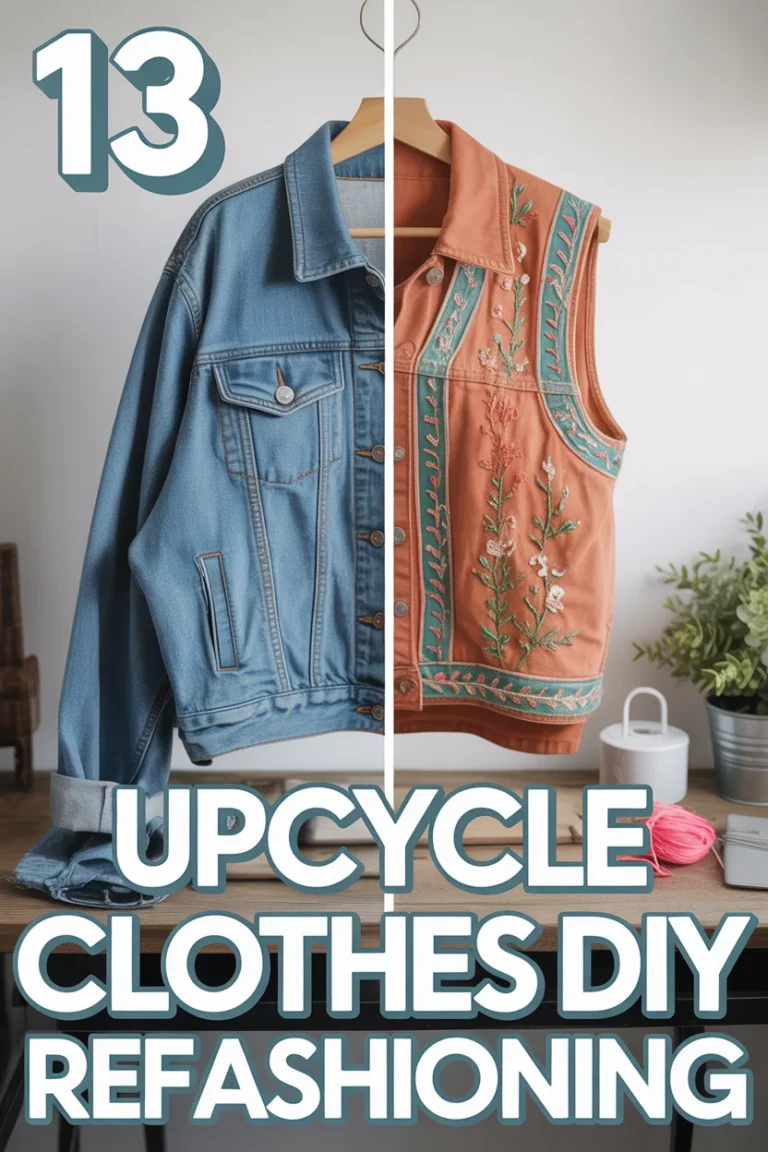
4. Old Clothes Rugs
Got a pile of t-shirts that have seen better days? Don’t toss ’em! Turn those beloved, faded threads into something soft underfoot.
Cut old t-shirts, jeans, or bedsheets into strips, then braid or crochet them into a unique rug. It’s a fantastic way to upcycle fabric that’s too worn for donations. Pro tip: mix different textures and colors for a really dynamic look. Your feet will appreciate the stylish landing pad.
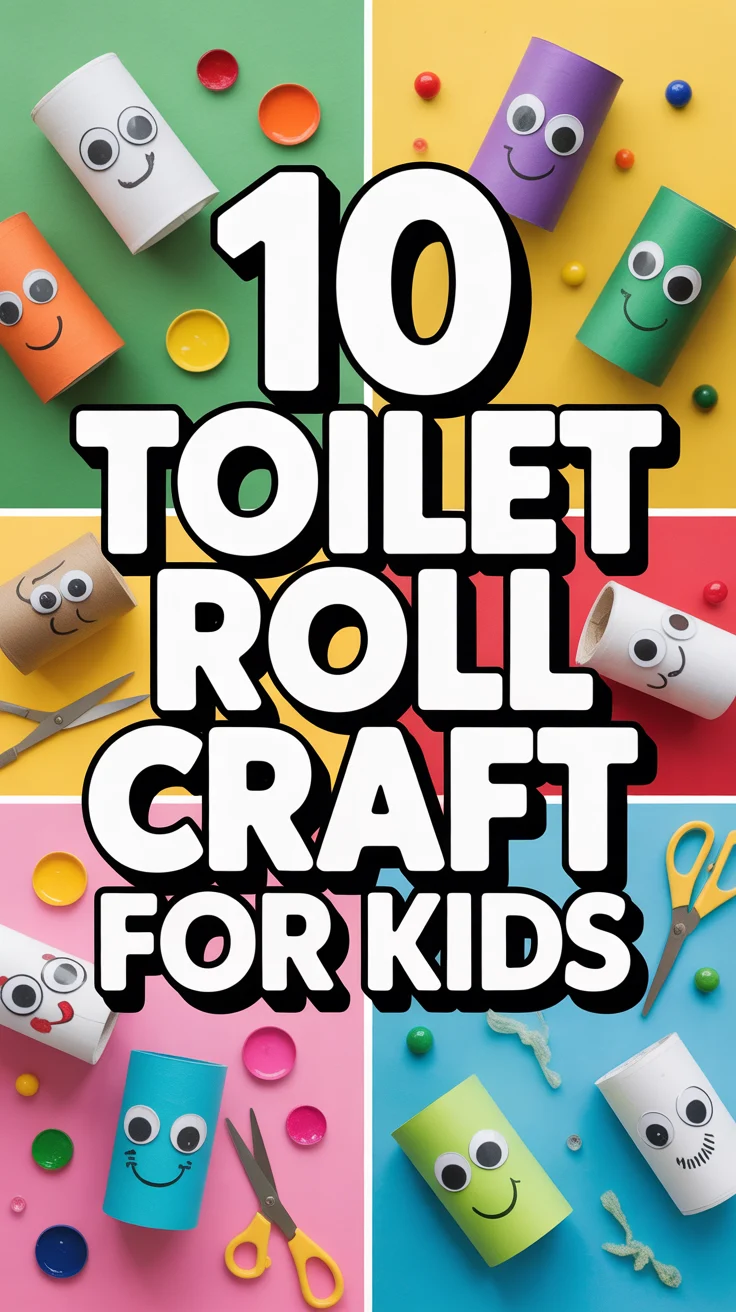
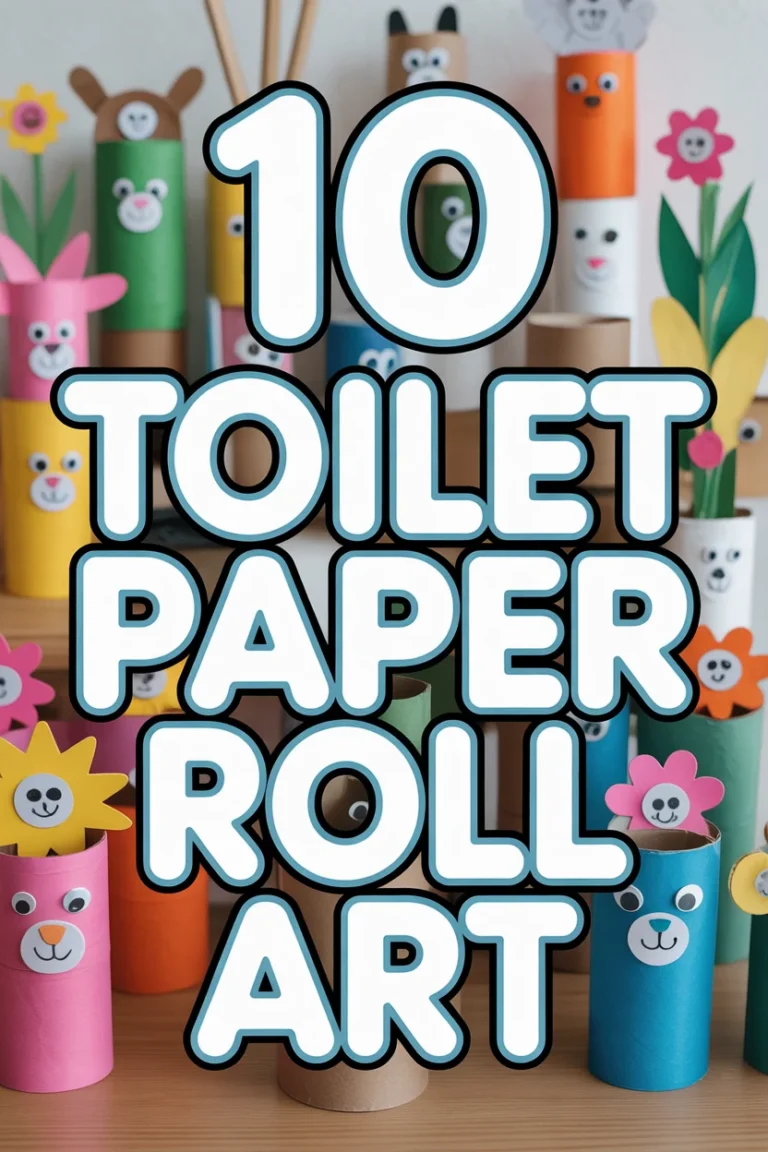
5. Toilet Paper Roll Art
Before you flush away that cardboard tube, consider its artistic potential. Seriously, these unassuming cylinders are craft gold.
Flatten them, cut them into shapes, and glue them together to create intricate wall art or decorative wreaths. You can even make cute little gift boxes or organizers. Pro tip: spray paint them metallic gold or silver for a surprisingly sophisticated look. Who knew your bathroom discards could be so chic?
6. Newspaper Seedling Pots
Gardeners, listen up! Those old newspapers are perfect for starting your spring seedlings, and they’re way better for the environment than plastic trays.
Fold and roll newspaper into small, biodegradable pots. When your seedlings are ready for the garden, you can plant the entire pot directly into the soil. Pro tip: use a sturdy glass or can as a mold to get perfectly shaped pots. Your garden will thrive, and your compost bin will be less crowded.
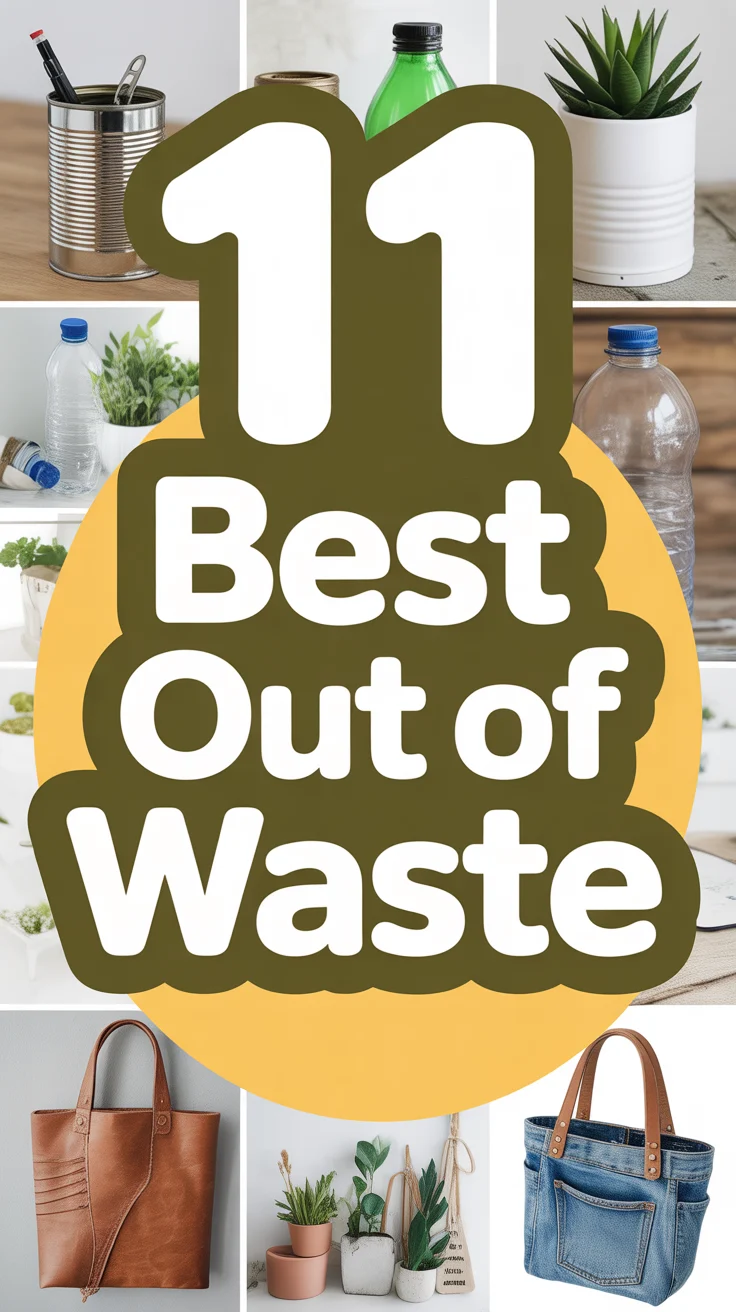
7. Tin Can Organizers
Soup cans, coffee cans, veggie cans – they’re all just waiting to become your next desk organizer, utensil holder, or even a quirky vase.
Rinse them well, smooth any sharp edges (safety first!), and then get decorating. Paint them, wrap them in fabric, or cover them with decorative paper. Pro tip: hot glue several cans together for a multi-compartment organizer. Your desk will thank you for the decluttering intervention.
8. Egg Carton Mini-Greenhouses
Those flimsy egg cartons are surprisingly robust for nurturing tiny sprouts. They’re basically nature’s perfect seedling starter kits.
Use the individual cups to start seeds, then once the seedlings are big enough, you can often tear off the cups and plant them directly. Pro tip: punch small drainage holes in the bottom of each cup. Your future herb garden starts here, folks.
9. Bottle Cap Magnets
Don’t toss those bottle caps! They’re tiny canvases just waiting for a creative touch. Plus, who doesn’t need more magnets?
Clean them up, flatten them slightly if you like, then glue on small pictures, glitter, or even tiny resin pours. Attach a magnet to the back, and boom: instant fridge art. Pro tip: use strong craft glue for a secure hold. Your fridge will never look dull again.
10. CD/DVD Mosaic Art
Remember CDs? Yeah, those shiny discs that used to hold music. They might be obsolete for tunes, but they’re pure gold for dazzling art.
Carefully cut old CDs or DVDs into small, irregular pieces. Glue them onto picture frames, flower pots, or even furniture for a shimmering, futuristic mosaic effect. Pro tip: wear safety goggles when cutting CDs; they can splinter. Your inner disco diva will thank you.
11. Wine Cork Trivets
If you’re a fan of a good vino, you probably have a stash of corks. These little guys are fantastic for heat-resistant projects.
Glue wine corks together in various patterns to create stylish trivets, coasters, or even a bath mat. They’re naturally insulating and add a rustic charm. Pro tip: use a strong adhesive like E6000 for a durable bond. Your countertops will be safe and stylish.
12. Plastic Bag Yarn (Plarn)
Plastic bags are notoriously bad for the environment, but you can give them a second life by turning them into “plarn.”
Cut plastic bags into strips, loop them together to create a continuous “yarn,” and then crochet or knit them into durable bags, mats, or even baskets. Pro tip: use bags of different colors for a vibrant, striped effect. You’re basically a superhero, saving the planet one bag at a time.
13. Old Lightbulb Vases
Before you recycle that burnt-out lightbulb, consider its potential as a tiny, quirky vase. They’re surprisingly elegant.
Carefully remove the metal cap and filament from a traditional incandescent bulb (this requires some finesse and safety precautions!). Clean the inside, and then hang it with twine or mount it on a small stand for a unique miniature vase. Pro tip: only attempt this with gloves and safety glasses. It’s a delicate operation, but the result is totally worth the effort.
✨ New Member Etsy Shops (100% Unsponsored!)
We are incredibly proud of the talent in this community! 💖 We've rounded up some gorgeous new Etsy shops launched by our very own members.
There are ZERO affiliate links in this post—just 100% pure support for our makers. Click below to shop small, show them some love, and find your new favorite items! 👇🛍️


Conclusion
See? Your “trash” is just waiting for its moment to shine. These aren’t just crafts; they’re tiny acts of rebellion against consumerism and a big high-five to Mother Earth. So go forth, rummage through your discards, and transform some waste into wonder. Your inner artist (and the planet) will absolutely love you for it.