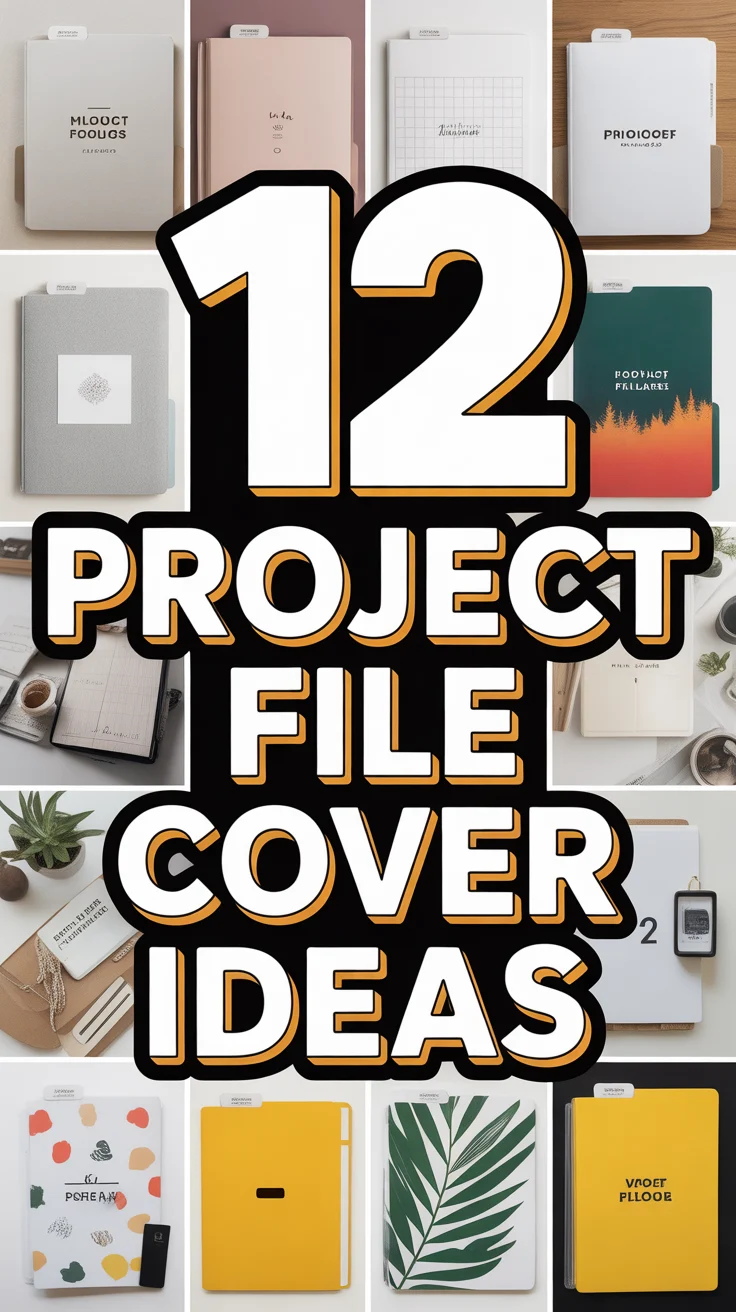
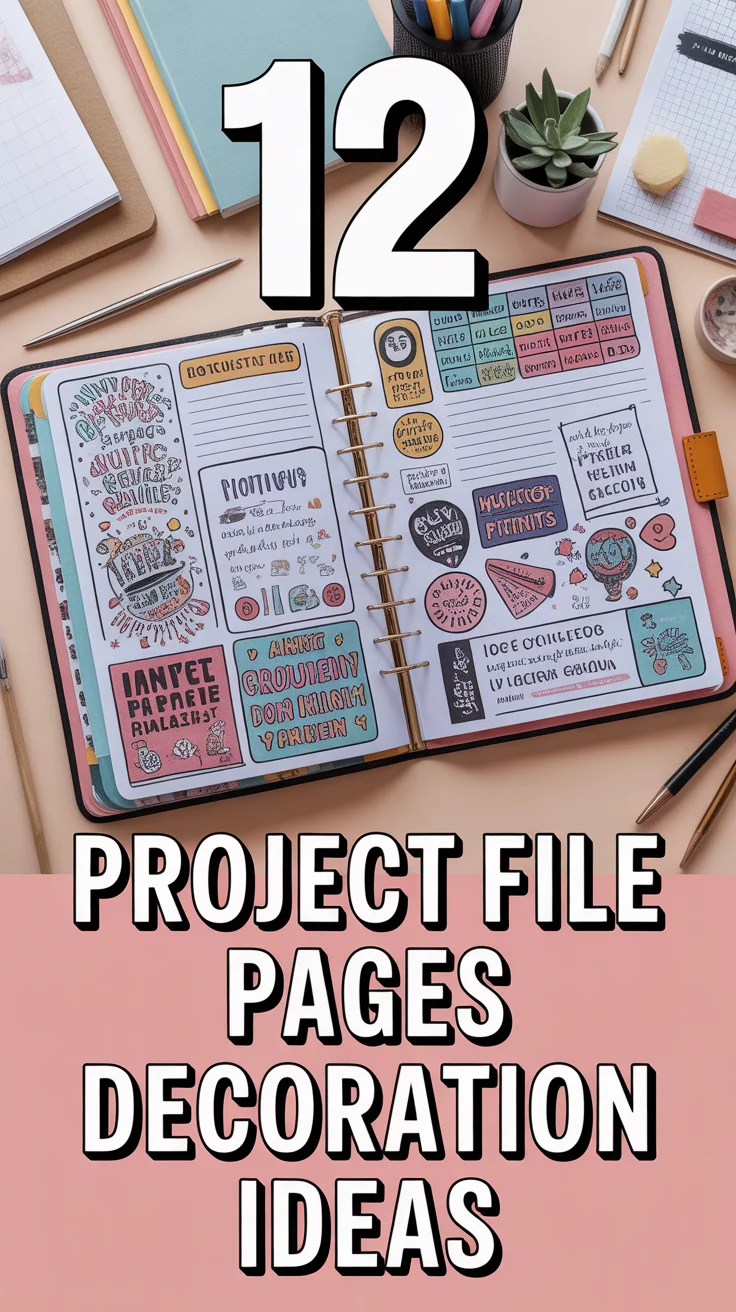
🎨 12 Project File Pages Decoration Ideas
🛠️ The Ultimate Maker's Toolkit
I've tested thousands of craft tools over the years. Whether you are quilting, crafting, or building mixed-media art, these are the top 5 absolute non-negotiable tools I personally recommend to guarantee professional results.
🪡 SINGER Heavy Duty 4452 Sewing Machine
The sewing community highly recommends this as the ultimate "bulletproof" entry-level machine. Its heavy metal frame powerfully pushes through thick denim and heavy quilt layers that would instantly jam a standard plastic machine.
✂️ Fiskars 8" Orange-Handled Scissors
Never settle for dull dollar-store blades. Wirecutter repeatedly names Fiskars the absolute best all-purpose craft scissor due to its legendary precision-ground blades and an ergonomic grip that prevents hand-cramping.
🔥 Gorilla Dual Temp Hot Glue Gun
Named Wirecutter's top choice because it literally does the work of two tools. It features dual-temperature settings offering low heat for delicate florals and blistering high heat for heavy wood adhesion repairs.
🖌️ Mod Podge Waterbase Gloss Sealer
The absolute undisputed champion of decoupage and paper crafts. Experts rely exclusively on this exact water-based formula because it glues, seals, and finishes beautifully without yellowing or flaking over time.
🎨 Apple Barrel Acrylic Paint (2 oz)
The quintessential, incredibly inexpensive craft paint. Woodworkers and hobby painters swear by its smooth flow and matte finish, providing massive value and remarkably thick color coverage on rough surfaces.
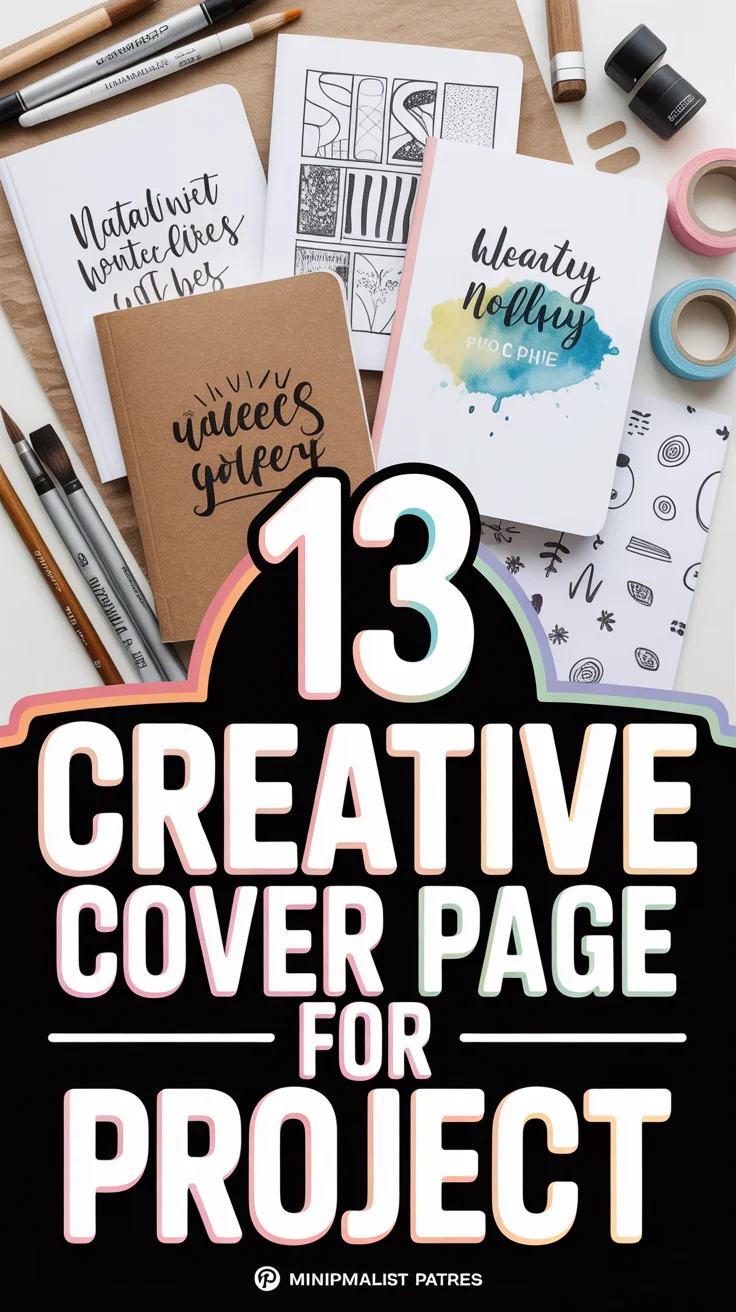
Okay, real talk. Your project files? They probably look like they just rolled out of a corporate meeting from the 90s. Boring, right? We’re here to say “hard pass” on that snooze-fest. It’s time to inject some serious personality into those pages, because who said academic or work projects can’t be an absolute vibe? Get ready to transform your folders from drab to fab, making every flip a mini-celebration of your brilliant mind (and impeccable taste).
1. Minimalist Chic
Forget the clutter, darling. This look is all about sleek lines and understated elegance. Think clean borders, a strategic pop of a single accent color, and crisp typography. It screams “I’m organized, I’m sophisticated, and I totally have my life together.”
Keep your color palette super tight, maybe just black, white, and one muted tone. A pro tip: use a consistent, elegant sans-serif font for all headings to maintain that ultra-polished vibe. This approach works because it’s effortlessly cool and lets your content truly shine.
2. Collage Chaos (The Controlled Kind)
Unleash your inner artist, but make it intentional. Gather magazine cutouts, printed textures, old photos, or even snippets of interesting text. Layer them up for a visually rich backdrop or a dynamic section divider.
To keep it from looking like a toddler’s art project, stick to a limited color scheme or a specific theme, like “vintage travel” or “urban jungle.” A pro tip: use a good quality glue stick to avoid wrinkling your pages and ensure everything stays put. This style totally works because it’s expressive, unique, and lets you tell a story beyond just words.
3. Hand-Drawn Doodles
Who needs fancy graphics software when you’ve got a pen and a dream? Personalize your pages with quirky sketches, whimsical borders, or even tiny, relevant cartoons. No need to be a professional artist; stick figures and abstract patterns have their own charm.
Grab a fine-tip black pen for consistency, then add a pop of one or two bright colors with markers or colored pencils. A pro tip: practice your doodles on a scrap piece of paper first to nail down your favorite designs. This method works because it adds a genuinely unique, human touch that nothing else can replicate.
4. Washi Tape Wonders
The unsung hero of temporary, low-commitment decoration. Washi tape is your new best friend. Use it to create colorful borders, divide sections, highlight important notes, or even form small geometric patterns. It’s basically magic for plain paper.
Layer different patterns or widths of washi tape for an even more dynamic and textured look. A pro tip: use a craft knife for super clean, precise cuts when you want perfect edges. This idea is a winner because it’s super easy to apply, remove, and completely transforms a page with minimal effort.
5. Sticker Storytelling
Adulting means you can buy all the stickers you want, right? Curated sticker sets can tell a mini-story or just add pops of personality to your pages. Think thematic, not chaotic – a set of botanical stickers for a biology project, or retro tech stickers for a computer science one.
Look for matte finish stickers; they often blend better than glossy ones for a more integrated, less “stuck on” feel. A pro tip: strategically place larger stickers first, then fill in with smaller ones for balance. This works because it’s a quick, fun way to add visual interest and personality without needing a ton of artistic skill.
6. Thematic Typography
Let your words do the talking, but make them look seriously good. Play with different fonts, sizes, and colors for your headings, subheadings, or key quotes. Think of your text as a design element, not just information.
Pair a bold, display font for titles with a clean, readable sans-serif for body text to keep things balanced and professional. A pro tip: use a font pairing tool online if you’re feeling overwhelmed by choice. This approach works wonders because it elevates important information and makes your pages look incredibly polished and intentionally designed.
7. Geometric Glam
Straight lines, sharp angles, and satisfying symmetry are surprisingly sexy. Use rulers, stencils, or even everyday objects to create cool patterns, intricate frames, or abstract designs. Think modern art gallery, not boring math class.
Stick to a two- or three-color scheme to keep your geometric designs looking crisp, intentional, and super sophisticated. A pro tip: use a pencil first for your lines, then go over them with a fine-liner pen once you’re happy with the layout. This gives off a super organized, on-trend vibe that’s hard to ignore.
8. Pressed Flowers & Leaves
Bring a bit of Mother Nature into your academic grind. Carefully place and secure small pressed flowers, leaves, or even tiny ferns onto your pages for a delicate, organic touch. It’s unexpected and absolutely charming.
Use a tiny dab of craft glue or clear tape on the back to prevent them from crumbling or falling off. A pro tip: choose flatter, smaller specimens that won’t add too much bulk to your file. This works because it adds an unexpectedly beautiful and calming natural aesthetic that truly stands out.
9. Watercolour Washes
A little splash of color never hurt anyone, especially when it’s done right. Apply light, abstract washes of watercolor to page backgrounds, section dividers, or even as subtle borders. Think soft ombré or dreamy, cloud-like effects.
Practice on a separate sheet first to get the hang of how much water and paint to use for a soft, transparent effect. A pro tip: use cold-press watercolor paper if you want to avoid buckling, or just be super sparing with your water on regular paper. This adds a beautiful, artistic backdrop without overpowering your actual content.
10. Pop-Up Elements
Surprise! Your file just got a delightful 3D upgrade. Create small, simple pop-up sections for key definitions, quick summaries, or even little “did you know” facts. It turns your page into a mini interactive experience.
Keep pop-ups small and simple to avoid bulk; a little flap revealing a hidden note or a folded square for an important term is perfect. A pro tip: use cardstock for your pop-up elements so they stand up better to repeated opening and closing. This idea is a winner because it’s unexpected, engaging, and makes important info literally pop.
11. Fabric Swatch Accents
Why should paper have all the fun? Glue small fabric swatches – think denim, linen, a cool patterned cotton, or even a bit of felt – as corner accents, tab indicators, or small decorative patches. It adds incredible texture.
Fray the edges slightly for a more rustic, handmade feel, or use pinking shears for a clean, zig-zag cut. A pro tip: use a strong fabric glue or a hot glue gun (sparingly!) to ensure your swatches stay firmly attached. This adds an elevated, tactile element that’s super unique and instantly interesting.
12. The “Oops, I Meant To Do That” Look
Embrace imperfection, because it’s totally in right now. Deliberately tear edges (artfully, please!), smudge a bit of ink (artistically, again!), or use a slightly misaligned stamp. It’s organized chaos, and it makes your project look effortlessly cool.
Start with a clean base and then carefully add these “imperfections” so it looks intentional, not like a genuine mishap. A pro tip: use a light sandpaper or a tea stain for a subtly aged effect on certain pages. This look works because it shows confidence, breaks traditional norms, and looks incredibly stylish when executed with a wink.
✨ New Member Etsy Shops (100% Unsponsored!)
We are incredibly proud of the talent in this community! 💖 We've rounded up some gorgeous new Etsy shops launched by our very own members.
There are ZERO affiliate links in this post—just 100% pure support for our makers. Click below to shop small, show them some love, and find your new favorite items! 👇🛍️


Conclusion
There you have it! No more excuses for a project file that looks like it’s begging for a nap. Your projects deserve to stand out, to be a visual extension of your brilliant ideas. So grab your pens, tape, glue, and maybe even some pressed flowers, and give those pages the glow-up they’ve been craving. Your future self (and your professor/boss) will thank you for the aesthetic upgrade!