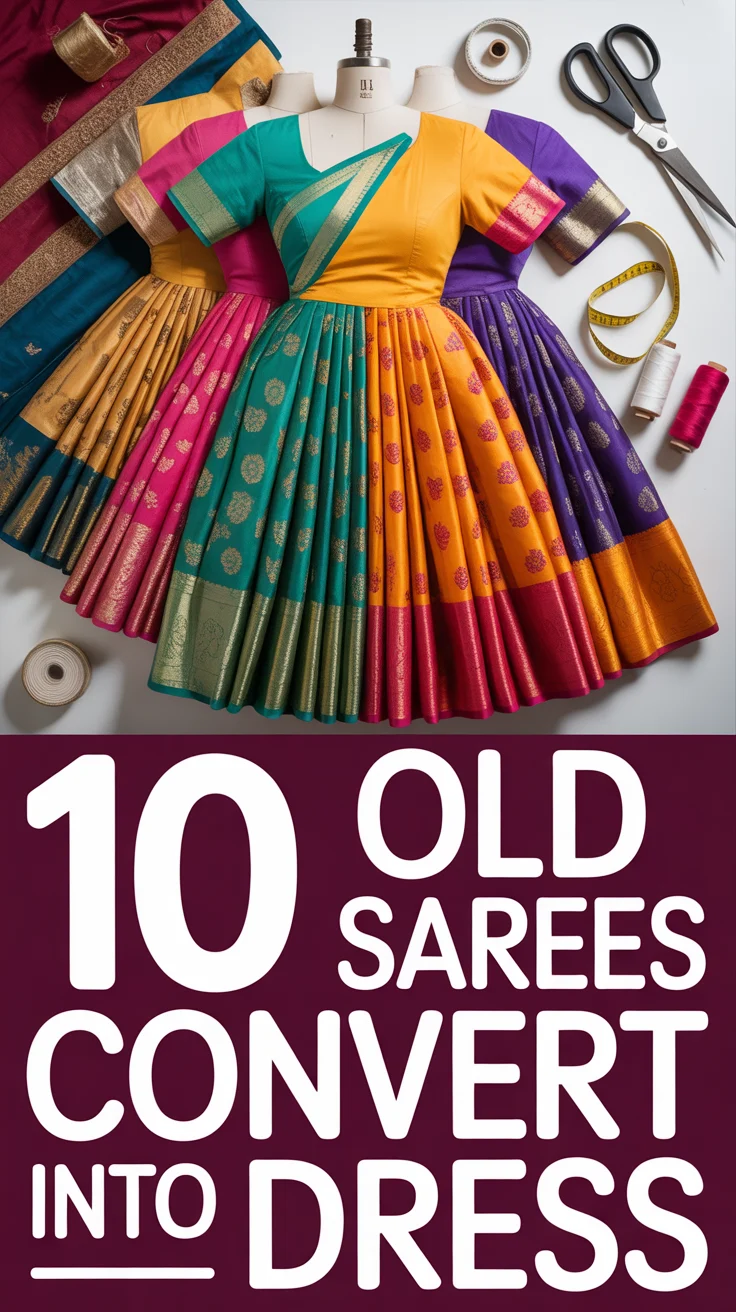
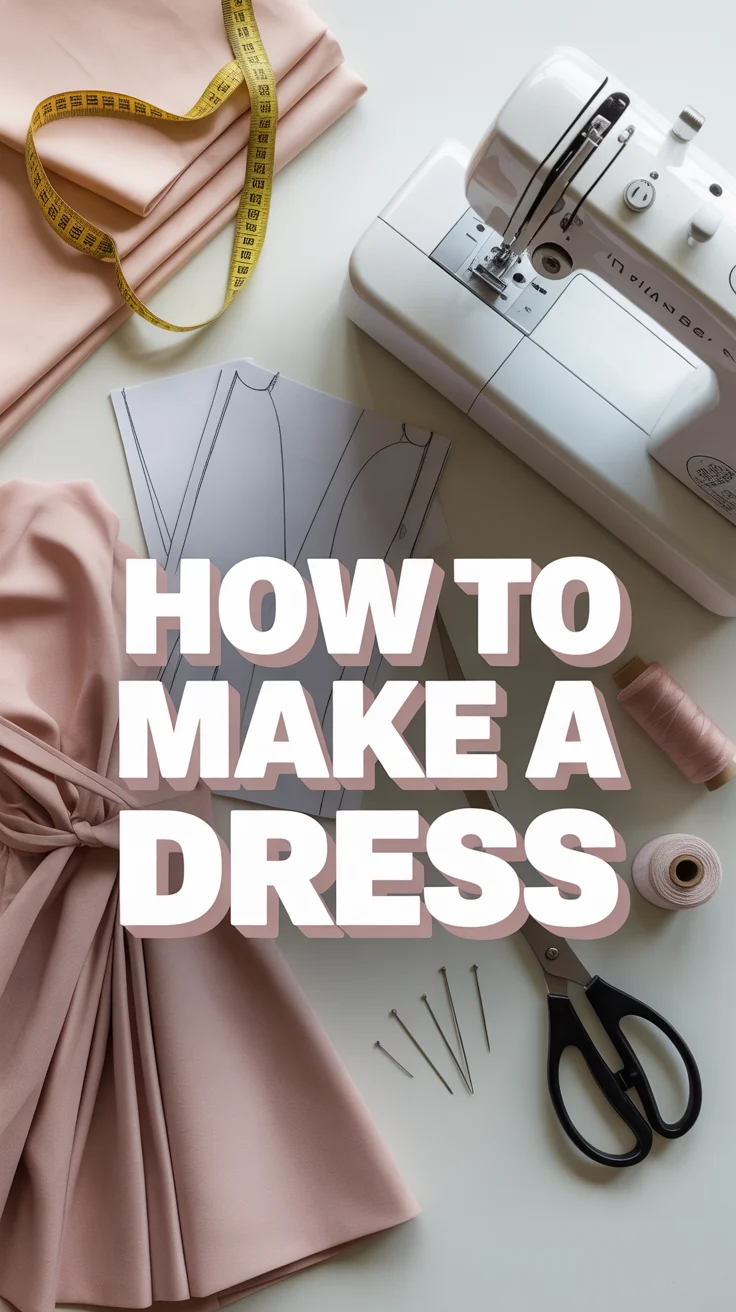
👗 How To Make A Dress
🛠️ The Ultimate Maker's Toolkit
I've tested thousands of craft tools over the years. Whether you are quilting, crafting, or building mixed-media art, these are the top 5 absolute non-negotiable tools I personally recommend to guarantee professional results.
🪡 SINGER Heavy Duty 4452 Sewing Machine
The sewing community highly recommends this as the ultimate "bulletproof" entry-level machine. Its heavy metal frame powerfully pushes through thick denim and heavy quilt layers that would instantly jam a standard plastic machine.
✂️ Fiskars 8" Orange-Handled Scissors
Never settle for dull dollar-store blades. Wirecutter repeatedly names Fiskars the absolute best all-purpose craft scissor due to its legendary precision-ground blades and an ergonomic grip that prevents hand-cramping.
🔥 Gorilla Dual Temp Hot Glue Gun
Named Wirecutter's top choice because it literally does the work of two tools. It features dual-temperature settings offering low heat for delicate florals and blistering high heat for heavy wood adhesion repairs.
🖌️ Mod Podge Waterbase Gloss Sealer
The absolute undisputed champion of decoupage and paper crafts. Experts rely exclusively on this exact water-based formula because it glues, seals, and finishes beautifully without yellowing or flaking over time.
🎨 Apple Barrel Acrylic Paint (2 oz)
The quintessential, incredibly inexpensive craft paint. Woodworkers and hobby painters swear by its smooth flow and matte finish, providing massive value and remarkably thick color coverage on rough surfaces.
Ready to turn fabric into a wearable compliment-magnet? Good. You don’t need a couture atelier—just patience, scissors, and a tiny dash of chaos. I’ll walk you through it like a friend who’s done this too many times and burned only one finger.
1. Pick Your Pattern
Start with a simple silhouette and win instantly. A-line, shift, or wrap—these are the gateway dresses.
Focus on skill-friendly patterns, clear instructions, and your body measurements. PDFs are great; paper patterns are cozy-grandma vibes. Trace your size so you can tweak without crying.
Pro tip: Choose a pattern with fewer pieces and no zipper for your first run. Knit patterns = stretchy forgiveness.
This works because fewer steps mean fewer “what is this piece even” moments.
2. Choose the Right Fabric
Fabric can make or break it. Pick something that drapes nicely and won’t fight you.
Look for cotton lawn, linen blends, or stable knits. Avoid slippery satins for your first rodeo unless you enjoy chaos.
Pro tip: Scrunch test it in store—if it wrinkles like a raisin, you’ll be ironing a lot.
Right fabric equals easier sewing and a dress that hangs like a dream.
3. Take Measurements Like You Mean It
Your tape measure is brutally honest, and that’s a good thing.
Measure bust, waist, hip, and back waist length. Compare to the pattern’s size chart—don’t trust your store size.
Pro tip: Wear the bra you’ll wear with the dress while measuring. It changes everything.
Accurate measurements mean fewer fit meltdowns later.
4. Prewash and Prep
Fabric shrinks. Don’t let it shrink after you’ve sewn your masterpiece.
Prewash the fabric as you’ll wash the dress, then press it flat. Square off edges and check grain alignment.
Pro tip: Serge or zigzag raw edges before washing to prevent a thread spaghetti monster.
Prepping keeps your final fit accurate and your seams crisp.
5. Lay Out and Cut
Cutting is where precision pays off. Slow hands, sharp scissors.
Follow the grainline, match folds, and pin or weight the pattern. Use fabric scissors, not the ones that cut tape last week.
Pro tip: Use a rotary cutter and mat for clean edges, especially on knits.
Clean, accurate cuts make everything else go smoother.
6. Mark Everything
Tiny marks now save big confusion later.
Transfer notches, dart points, and fold lines with chalk or washable pen. Label your pieces if they look similar.
Pro tip: Use tailor’s tacks on delicate fabrics—no ink surprises.
Good markings keep your pieces from playing identity theft.
7. Sew the Darts and Seams
Time to stitch. Breathe. Go steady.
Sew darts toward the center and shoulder and side seams with the recommended seam allowance. Press after every seam like a pro.
Pro tip: Test stitches on scraps to dial in the tension and stitch length.
Pressing and precision give you that crisp, store-bought finish.
8. Add Stabilizers Where Needed
Stop stretching before it starts.
Use staystitching on necklines and interfacing on facings or button bands. It keeps curves and closures from warping.
Pro tip: Lightweight fusible interfacing is your best friend for necklines.
Stability equals shape that lasts through wearing and washing.
9. Install the Closure
Zipper, elastic, or buttons—pick your adventure.
Invisible zippers look slick, elastic waists are forgiving, and buttons are classic. Follow the pattern’s steps and use the right foot.
Pro tip: Baste zippers first. If it’s crooked, future you will notice. Always.
Clean closures make your dress look intentionally professional.
10. Finish the Neckline
Necklines can expose you—or your skills. Let’s keep it neat.
Use facings, bias binding, or a neckband on knits. Understitch facings so they stay inside and mind their business.
Pro tip: Press the curve over a tailor’s ham for a smooth roll.
A tidy neckline makes the whole dress look elevated.
11. Attach Sleeves or Finish Armholes
Sleeves aren’t scary. They’re just fabric hugs.
Ease sleeves with gathering stitches or finish armholes with bias tape for a sleeveless look. Match notches like your life depends on it.
Pro tip: Sew sleeves flat before closing the side seams on casual styles—way easier.
Good armholes equal comfort and clean lines.
12. Shape the Waist
Snatched or relaxed—your call.
Use elastic casings, ties, belts, or princess seams for shaping. Keep bulk minimal for a smooth silhouette.
Pro tip: Add side-seam pockets before closing the waist if you want them. Of course you want them.
Waist shaping gives a custom look without drama.
13. Hem Like You Mean It
The hem is the finale. Don’t trip at the finish line.
Try on the dress and mark length evenly. Use a double-fold hem, blind hem, or coverstitch for knits.
Pro tip: Let bias or full skirts hang overnight before hemming—they drop.
A crisp hem makes the whole dress read “intentional.”
14. Final Press and Fit Check
Steam, tweak, strut. You’re basically your own stylist.
Press seams, trim threads, and check fit with mirror + movement—sit, walk, wiggle. Adjust where needed.
Pro tip: A quick hand tack at facings or seam allowances keeps everything lying flat.
This last pass turns “homemade” into “handmade and fabulous.”
✨ New Member Etsy Shops (100% Unsponsored!)
We are incredibly proud of the talent in this community! 💖 We've rounded up some gorgeous new Etsy shops launched by our very own members.
There are ZERO affiliate links in this post—just 100% pure support for our makers. Click below to shop small, show them some love, and find your new favorite items! 👇🛍️


Conclusion
You just built a dress from flat fabric. That’s wizard energy. Keep your pattern notes, celebrate the wins, and tweak the next one for an even better fit.
The value is simple: a dress that fits your body, your vibe, and your life—made by you, for you. Now go collect compliments like it’s your job.